In this comprehensive guide, we delve into everything you need to know about the Open Eye Lash Map. From understanding the Open Eye lash style to step-by-step techniques for precise application. Join us as we unlock the secrets behind creating captivating, open-eyed beauty!
What is An Open Eye Lash Map
Open Eye style lash extensions offer a rounded, open lash look. This lash mapping technique places longer lashes in the center of the eyelid to enhance volume and length, gradually tapering down sharply at each side for a rounder eyes, intense effect. They’re nearly similar to the doll eye lash map, but characterized by symmetrical graduation.
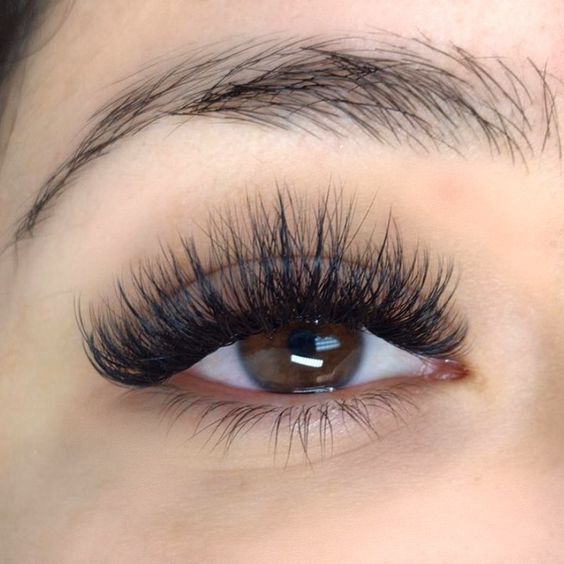
Source: Instagram @beautybysamanthab_
Doll Eye Lash Map vs. Open Eye Lash Map
So, what is the Difference between Doll Eye And Open Eye Lash Map?
The Doll Eye lash map focuses on creating a uniform length across the entire eyelash line, with longer lashes placed in the middle to give the appearance of bigger and fuller eyes.
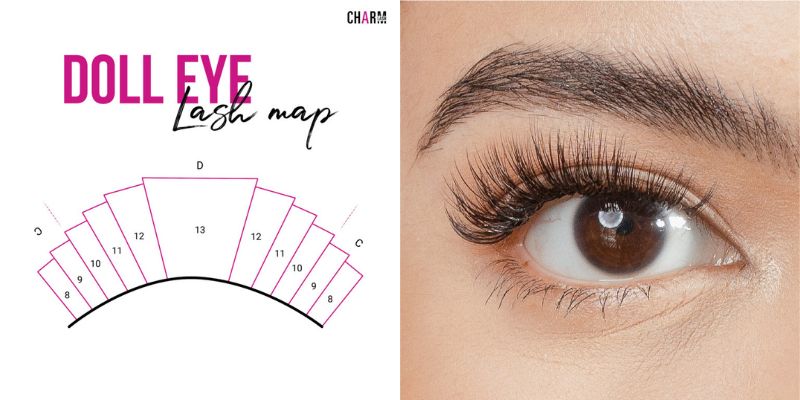
In contrast, the Open Eye lash map strategically uses varying lash lengths and sizes to maximize the eye-opening effect. It typically features longer lashes at the center of the eyelid to add volume and length, tapering down towards the outer corners to create a symmetrical, graduated look.
To compare, the Doll Eye style aims for larger, fuller eyes, while the Open Eye lashes map is designed for a more dramatic and symmetrical eye-opening effect.
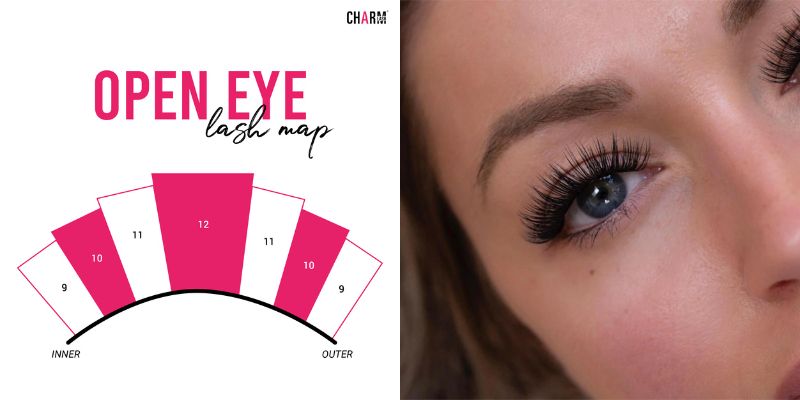
You can watch this video to see the difference:
Who Is Suitable for Open Eye Style Lash Extensions?
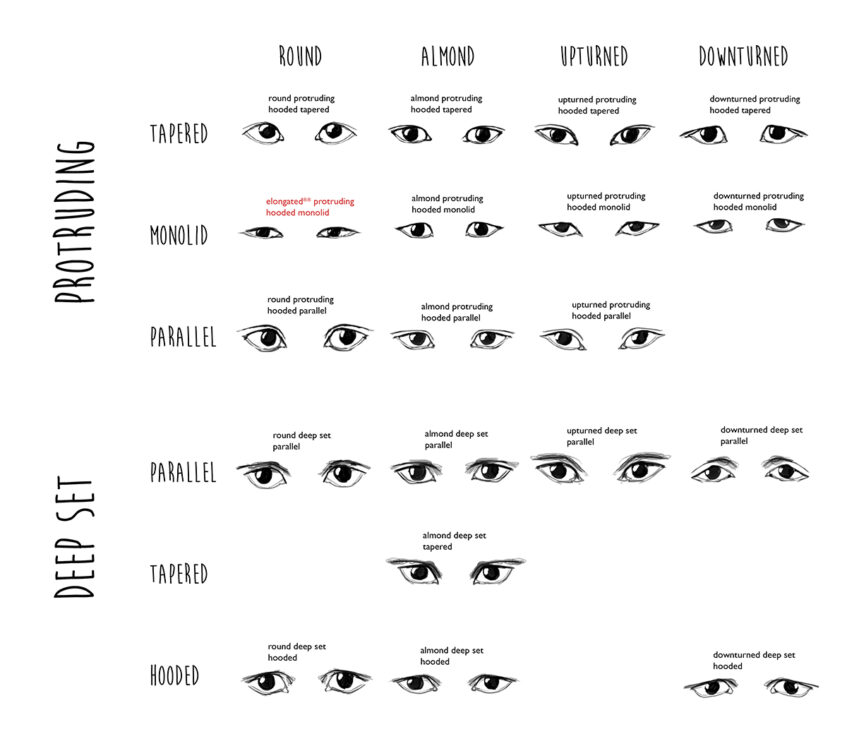
Ideal for almond eyes, monolids, downturned eyes, hooded eyes, and wide-set eyes, this style enhances the natural beauty and structure of these eye shapes. However, it is best to avoid this style for round eyes, upturned eyes, narrow face shapes, and close-set eyes, as it may not complement these features as effectively.
10 Steps for a Perfect Open Eye Lash Map
Step 1: Consultation
Begin by evaluating the client’s eye shape to ensure the open eye lash map is suitable. Then, lash artists should discuss the client’s desired look to understand their preferences regarding length, volume, and overall style.
Source: Reddit
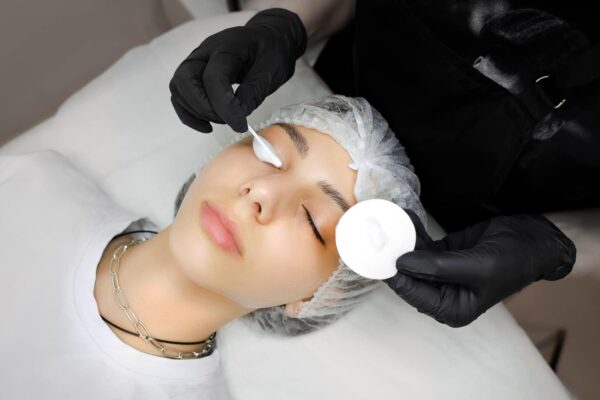
Step 2: Clean Client’s Natural Lash and Apply Primer
Cleaning the client’s natural lashes with an oil-free cleanser to remove any dirt, oil, or makeup. This ensures a clean base for the lash extensions.
Source: RM Lash Academy
Next, apply primer to the client’s lashes to enhance retention and improve the attachment of the lash extensions. Primer is a pretreatment to enhance the retention of eyelash extensions.
Step 3: Apply under-eye patches
Then, gently apply under-eye patches to protect the delicate skin and keep the lower lashes in place during the application. With all preparation above, you’re now all set for the next step: Lash mapping!
Step 4: Mapping the Lash Line for Open Eye lash map
First, you should begin by sectioning the lash line into three main sections: the inner corner, the middle section, and the outer corner:
- The inner corner will be the first 1/3 of the lash line
- The middle section will be the central 1/3
- The outer corner will be the last 1/3.
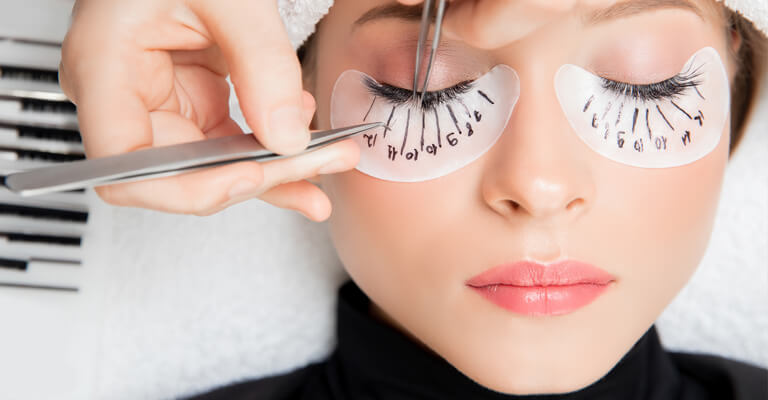
Then, Identify the eye’s center, typically aligned with the pupil, to place the longest extensions for an uplifted effect. Mark the area around the pupil as a guide for applying the longest lashes. Symmetry is crucial—ensure that the placement of the longest lashes is mirrored on both eyes to maintain a balanced, open-eyed appearance.
Follow this rule, and you will thank me later!! As this definitely helps in placing the extensions precisely. Or, you can watch this video to practice creating an Open Eye Lash Map:
Step 5: Choosing Lash Lengths
After proper mapping, it’s essential to select the appropriate lash lengths for each section right from the start to create a stunning open eye lash look:
- For the inner corner, use shorter lashes (7-9mm) to create a natural gradient.
- In the middle section, apply the longest lashes (10-12mm) to open up the eyes.
- For the outer corner, use medium-length lashes (8-10mm) to blend seamlessly with the central section.
Step 6: Isolation
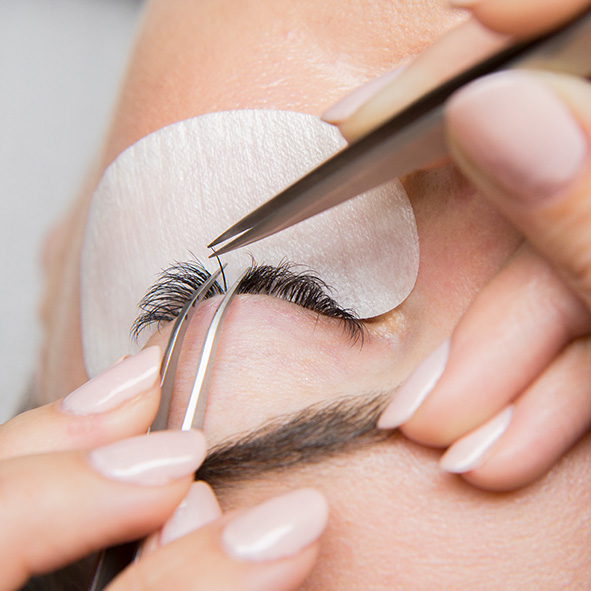
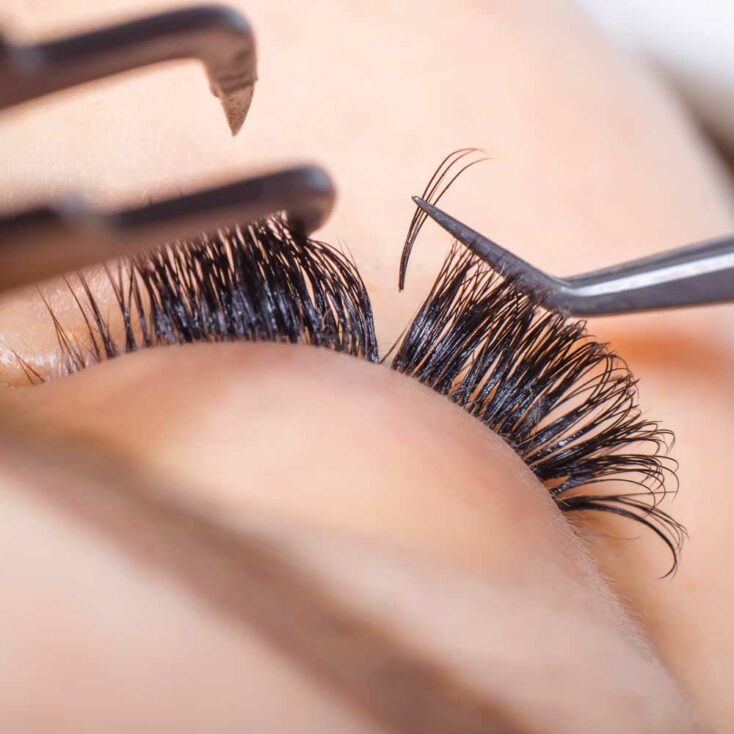
Isolation is a crucial step to create a stunning Open Eye lash map. Using precision tweezers, carefully isolate each natural lash before applying an extension. This step prevents lashes from sticking together and ensures a clean and precise application.
Step 7: Adhesive Application
Dip the base of each lash extension into a small amount of adhesive. Then, apply adhesive along the entire length of the natural lash, ensuring complete coverage without gaps. Distribute the adhesive evenly to create a smooth and seamless bond between the extension and the natural lash.
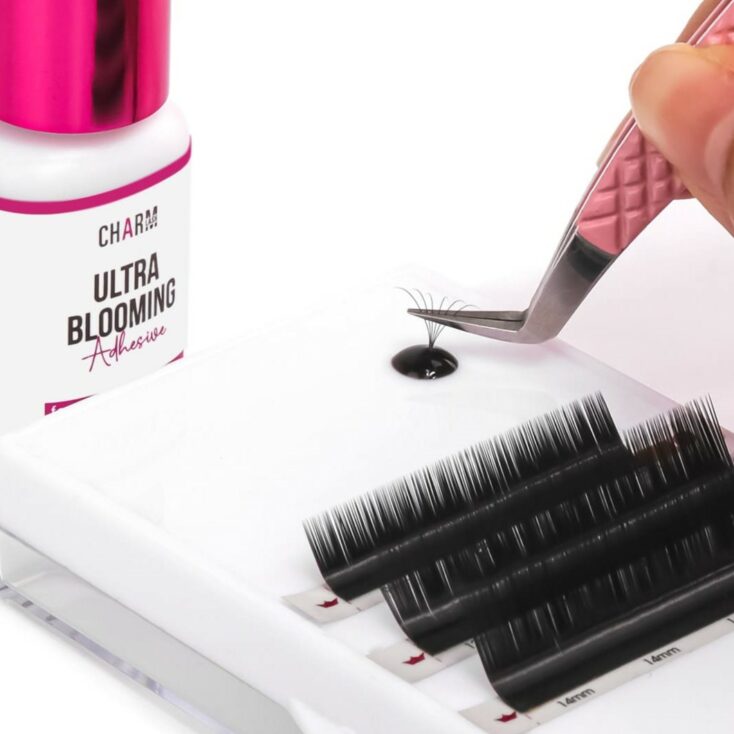
If you’re new to creating an Open Eye lash map and looking for a beginner-friendly lash glue, try our premium standard drying glue for a beautiful and flawless finish!
Step 8: Eyelash Extensions Application
Place the lash extension onto the natural lash after applying adhesive, ensuring the lash extension 1-2 mm away from the eyelid to avoid contact with the skin.
Step 9: Final Check and Adjustments
After applying lash extensions, take a step back and carefully evaluate their symmetry and uniformity. Ensure the lashes are evenly distributed to achieve a harmonious appearance. Make any necessary adjustments to maintain balance and achieve the best look for an open eye lash map.
Step 10: Dry the Lash Adhesive
After all the lash extensions are securely bonded, allow them to dry for 3 to 5 minutes. To enhance the adhesive bond, apply a super bonder. Use a lash fan to disperse the fumes, ensuring the glue cures under optimal humidity and temperature conditions.
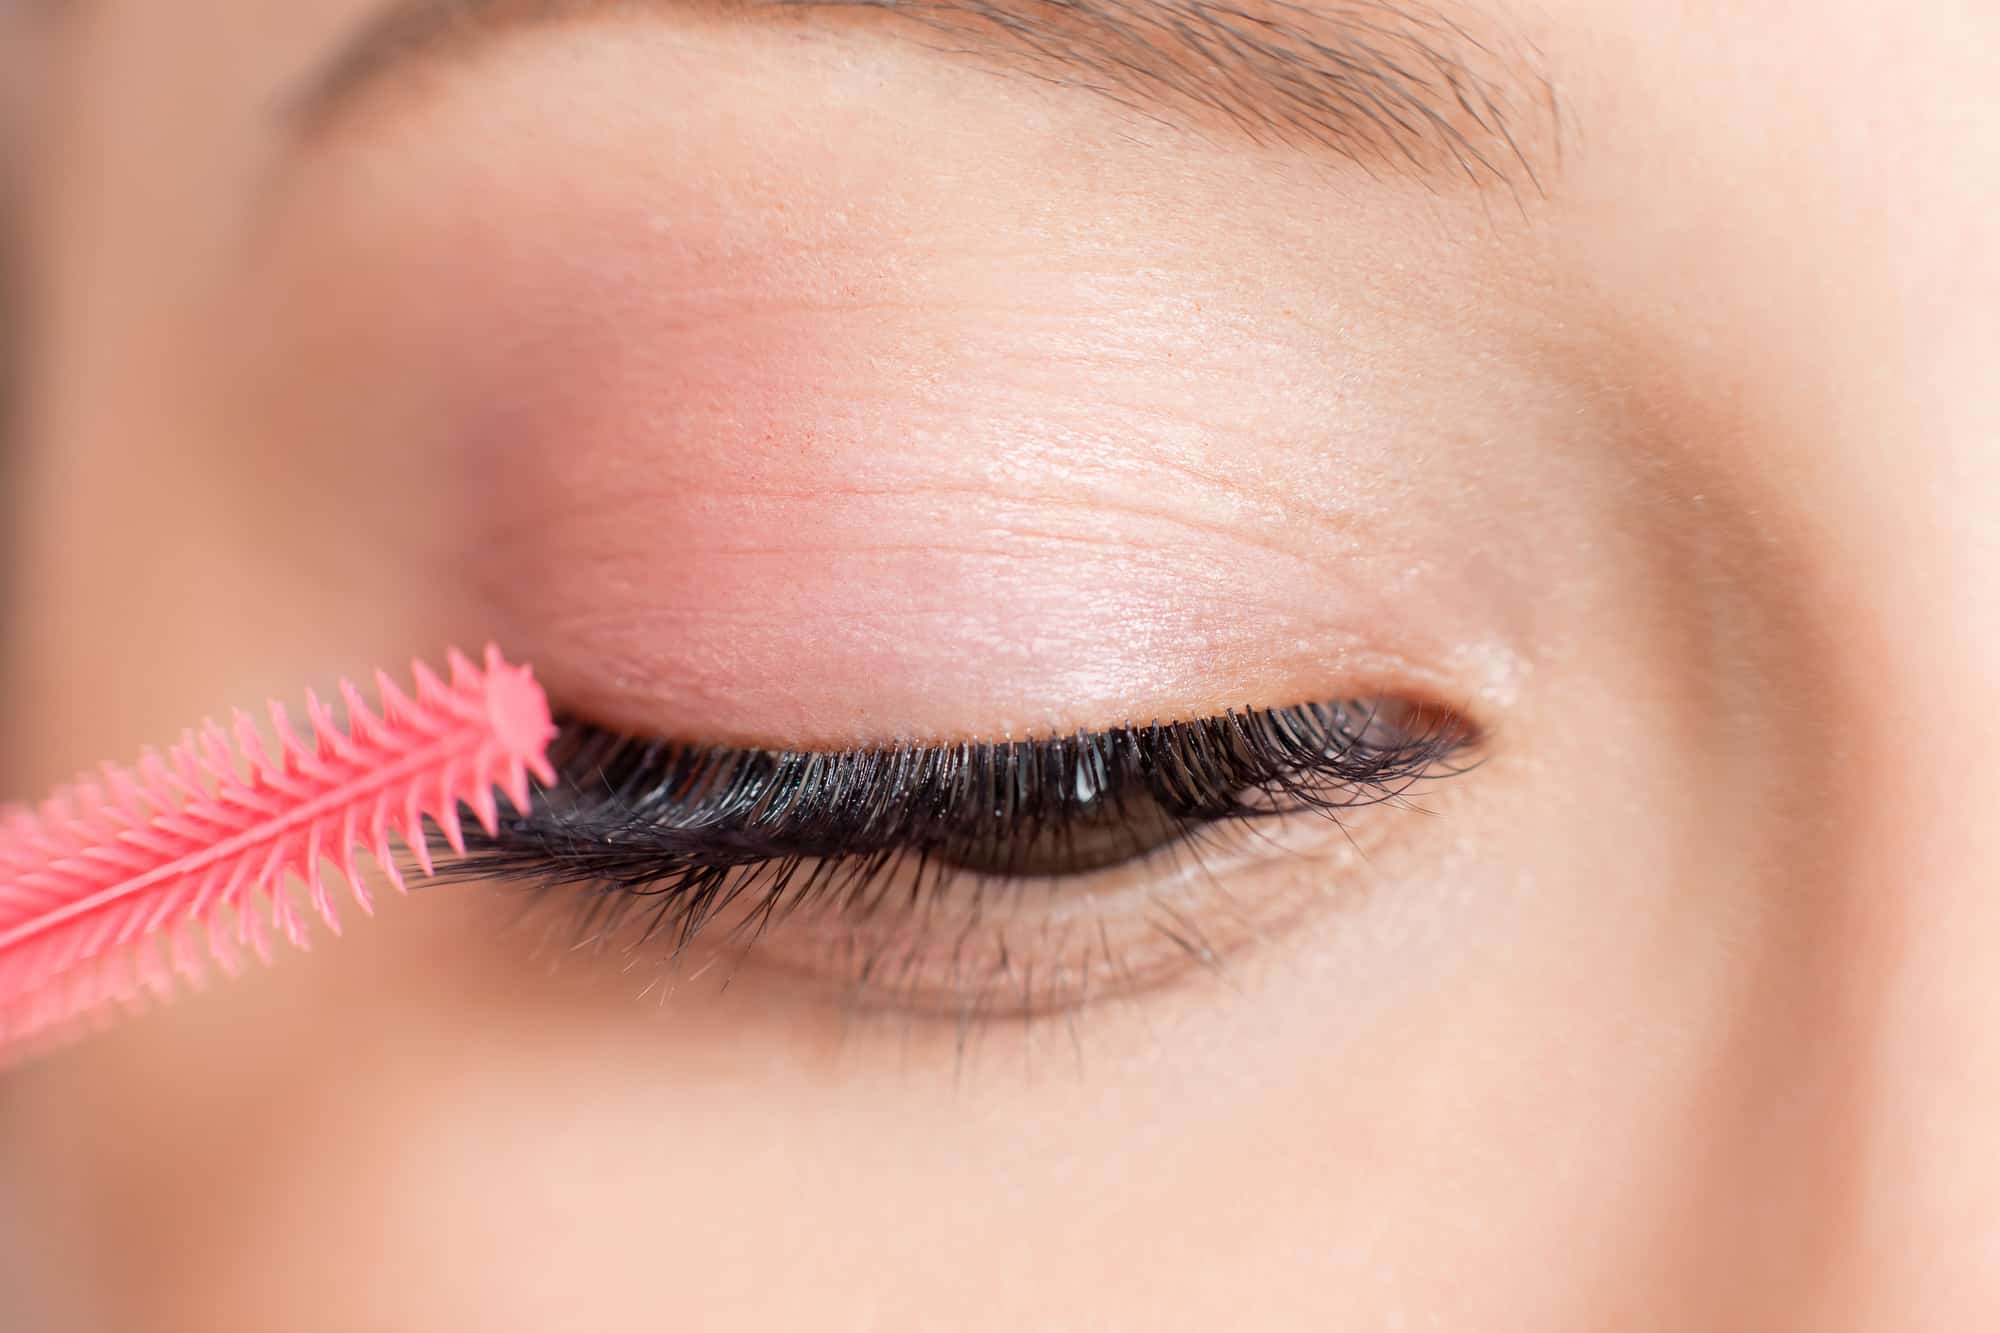
Next, gently comb through the lashes using a lash brush. This helps separate and align the extensions, preventing tangling or clumping.
Aftercare Tips for Clients
Here are some tips for lash artists to advise your clients after applied an Open Eye lash map:
- Avoid water for the first 24 hours (including swimming, hot showers, saunas, and intense workouts).
- Clean their lashes regularly with a lash-safe cleanser
- Brush their lashes daily using a clean spoolie brush.
- Use oil-free products around the eye area to ensure the longevity of their lash extensions.
- Avoid rubbing, pulling, or tugging on their lash extensions
- Sleep on their back or use a silk pillowcase to minimize friction between their lashes and the pillow.
- Mascara is generally not necessary with lash extensions and should be avoided. If they must use mascara, it should be a water-based, extension-safe formula.
- Schedule regular fill appointments every 2-3 weeks to maintain a full and fresh look.
- Keep lashes away from direct heat sources and to use a cool setting on their hairdryers if necessary.
- Opt for lighter, lash-friendly makeup to keep their extensions looking their best.
Best Lash Extension Products For Open Eye Lash Map
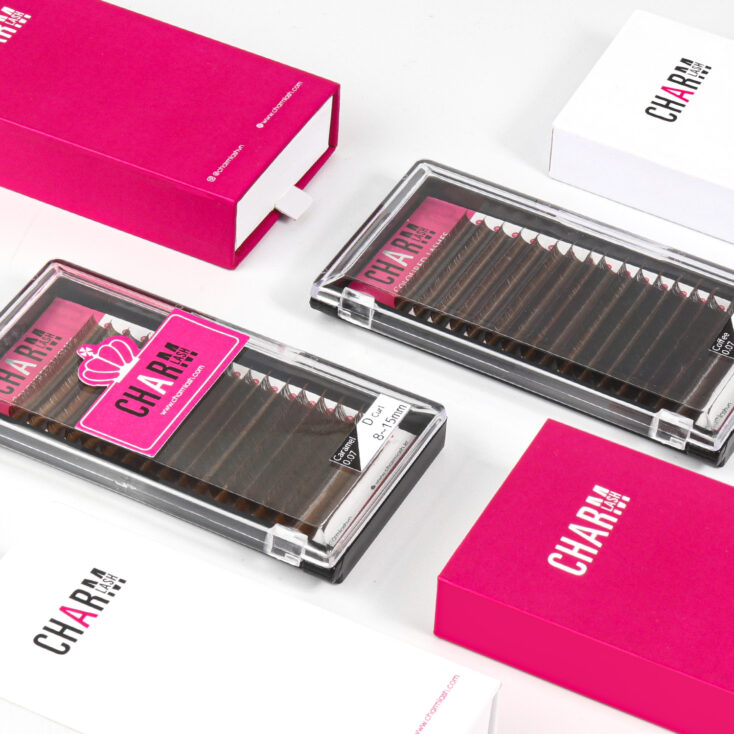
To achieve stunning open eye eyelash extensions, we recommend you use C-Curl Lashes and use mixed-length trays to customize your desired look. At Charmlash, we provide premium lash materials perfectly suited to create a captivating open eye lash map. Explore our high-quality products here.
Mastering the Open Eye Lash Map technique can elevate your lash artistry, allowing you to create stunning, wide-eyed looks for your clients. By understanding this technique, from proper mapping to meticulous application and aftercare, you can achieve a flawless and beautiful result every time. Remember, the key to success lies in precision and symmetry!
Follow Charmlash on Instagram for more helpful lash tips.
MAYBE YOU WANT TO KNOW MORE:
Cat eye eyelash extensions – Things you need to know
Capture every attention with doll eye lash extensions
Asian Eyelash Extensions: Exploring Typical Eye Shape and The best Lash Style


