Perfect eyelash extensions don’t just happen by chance—they start with the right prep work. A solid pre-treatment routine is the secret to better retention, stronger adhesion, and happier clients. But don’t worry, it doesn’t have to be complicated! With the right products, you can streamline the eyelash extensions process and make your job as a lash artist so much easier.
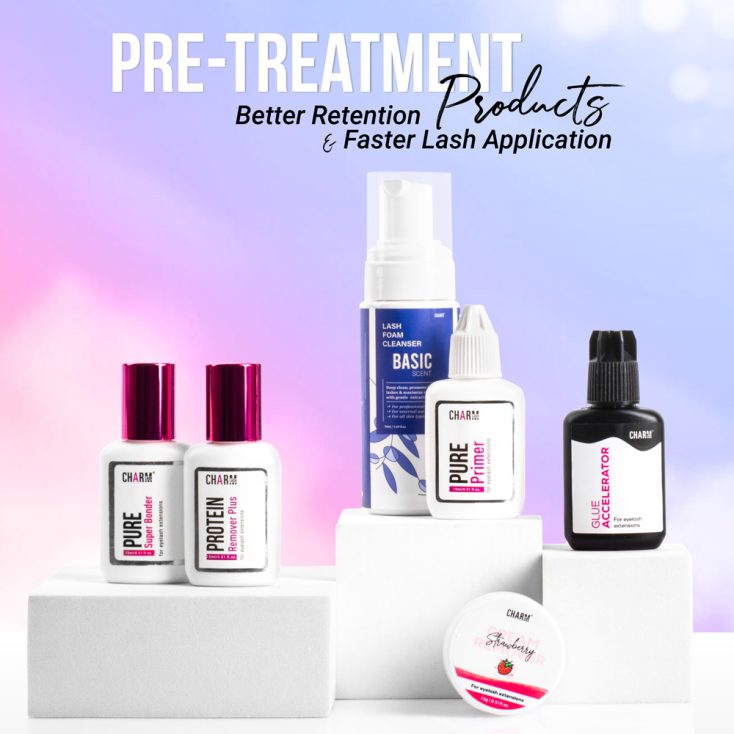
In this post, we’ll walk you through the 5 best pre-treatment products to streamline your eyelash extensions process. Ready to level up your lash game? Let’s get started!
Why a streamlined eyelash extensions process matters
A streamlined eyelash extensions process is very important for lash artists! It helps you work faster and more efficiently, so you can get through your appointments without sacrificing quality. When everything flows smoothly, you reduce the chance of mistakes, stay more focused, and ultimately give your clients the best experience possible. Plus, a quicker, more efficient process means you can fit in more clients, which is great for business.
Streamlining your lash routine isn’t just about working harder; it’s about working smarter! So, let’s dive into the 5 easy steps to perfect your eyelash extensions process:
Step 1: Gentle removal with Lash Cream Remover
Before starting the eyelash extensions process, it’s crucial to have a clean lash extension removal process. If your client has leftover extensions from a previous set, you’ll need to remove them safely and efficiently. This is where a cream remover comes in handy.
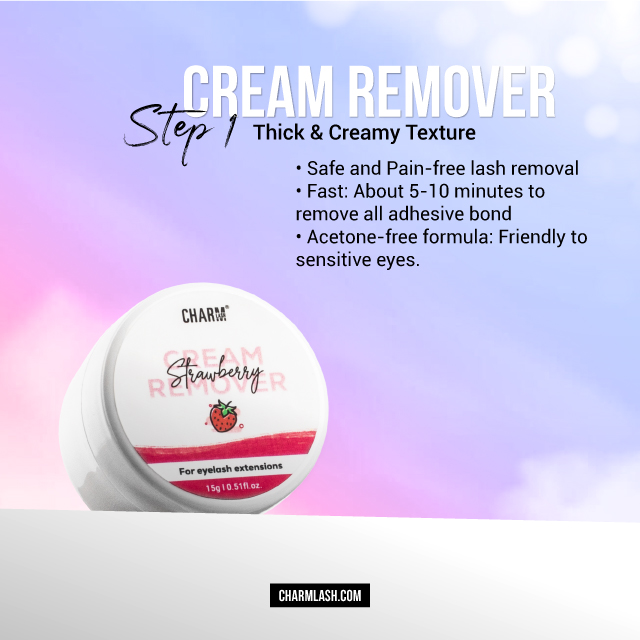
Why use a cream remover?
- Gentle and non-irritating: Its thick and creamy texture is less likely to drip into your client’s eyes, reducing discomfort.
- Effective dissolution: It breaks down adhesive bonds quickly, making the eyelash extension removal process effortless.
- Easy to apply: The thick consistency ensures precise application, especially for sensitive clients.
How to use it:
- Cleanse the eyes by removing any makeup with an oil-free makeup remover or lash foam and water.
- Use a micro brush to apply a generous amount of remover directly onto the glue bonds.
- Allow the remover to sit for about 5-10 minutes, depending on the number of lash extensions, how fresh the set is, and the amount of glue used.
- Carefully remove the extensions using dry cleansing brushes or tweezers.
- Once all the lashes have been removed, gently wipe the eyes with a clean cotton pad to ensure all product residue is gone before applying any other treatments.
Pro Tip: You need to apply the remover under eye pads and have clients keep their eyes closed at all times while using eyelash cream remover.
For more infomation on eyelash remover, you can check out our ultimate guide here.
Step 2: Thorough cleaning with Lash Shampoo
Clean lashes are happy lashes! A clean base ensures better adhesive bonding and reduces the risk of irritation or premature lash shedding. Enter the hero of this step: lash shampoo.
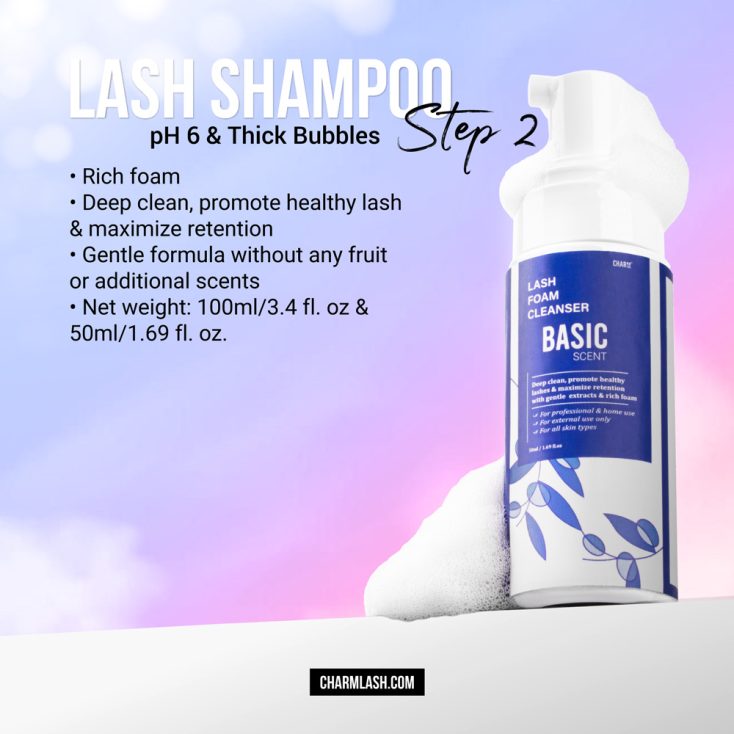
Why lash shampoo is essential:
- Removes Dirt and Oil: ash shampoo effectively clears away makeup, oils, and debris that could interfere with the bonding process, ensuring better lash retention.
- Hydrating Formula: A high-quality lash shampoo keeps natural lashes moisturized without over-drying, promoting healthy lash growth and enhancing the overall look.
- Thick, Luxurious Foam: The bubble-rich texture makes eyelash extensions process smooth and relaxing for your client.
For the best results, consider using our Basic Scent Lash Foam Cleanser, which combines gentle cleansing with a hydrating formula, making it the perfect addition to your lash care routine.
How to use it:
- Shake well before use.
- Dispense a small amount of lash shampoo into your hand or a lash cleansing brush.
- Gently massage the shampoo onto the lashes in a circular motion, working through the lash line.
- Rinse thoroughly with distilled water and pat dry with a lint-free towel.
Pro Tip: Use a fan or nano-mister to speed up the drying process, ensuring no moisture remains before moving to the next step.
Step 3: Oil-free prep with Protein Remover
For maximum adhesion, it’s critical to eliminate any remaining oil, residue, or impurities from the lashes . That’s where a protein remover comes into play.
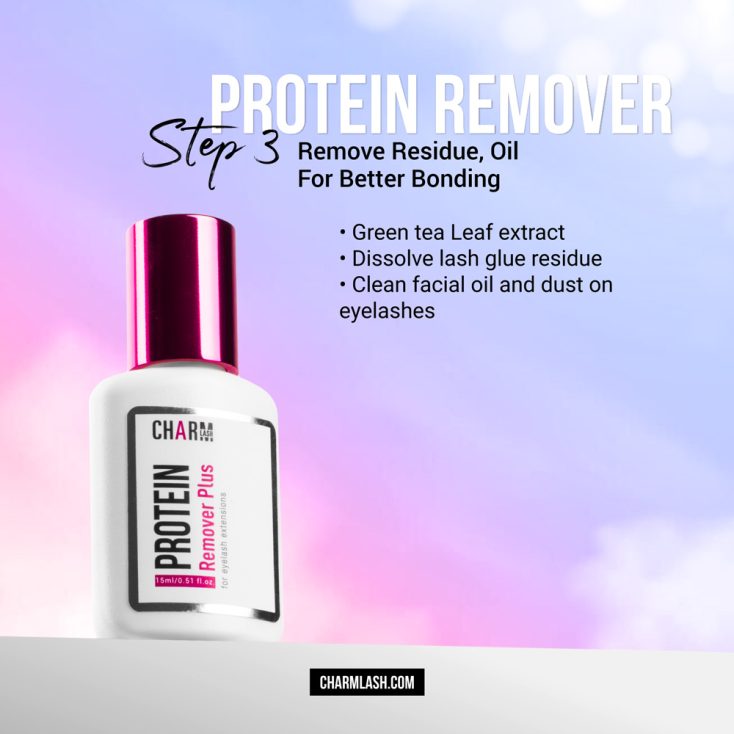
Why Protein Remover is a game-changer:
- Remove any leftover: Remove facial or dust in the simplest and safest manner, while also improving retention and extending the longevity of the eyelash extensions.
- Preps Lashes for Bonding: It ensures the adhesive bonds securely to the natural lashes, increasing the lifespan of the lash extensions
- Oil-Free Formula: Perfect for creating a clean, oil-free lash surface.
- Quick and Easy to Use: Saves time during the preparation stage.
How to use it:
- Apply the protein remover using a micro brush or lint-free applicator.
- Focus on the lash line, ensuring every lash is treated.
- Allow it to dry completely before proceeding to the next step.
Pro Tip: Apply carefully to avoid contact with the skin or eyes. Incorrect use of this product may lead to eye or skin irritation.
Step 4: Enhanced adhesion with Primer
Now that the lashes are clean and residue-free, it’s time to prime them. A lash primer creates the perfect base for adhesive bonding in the lash extension process.
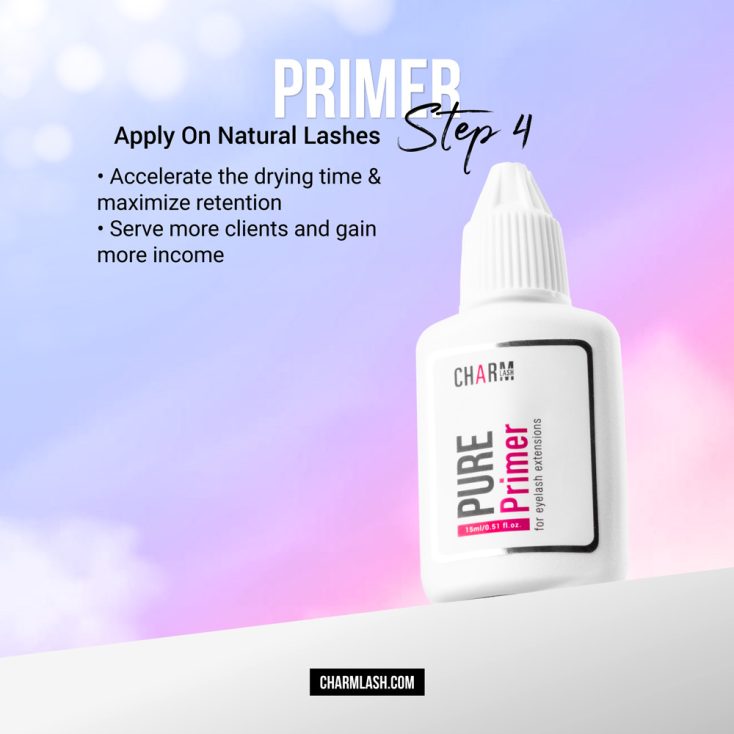
Why lash primer is a must-have:
- Improves Adhesion: It helps remove any oils, dirt, or residue, creating a clean surface for the adhesive to bond more effectively.
- Enhances Longevity: By ensuring a stronger bond between the natural lashes and extensions, it can significantly improve retention, helping the extensions stay in place for longer periods.
- Prepares the Lashes: Gently cleanses and conditions the lashes, making them ready for the eyelash extension process without causing damage or irritation.
- Speeds up application: A well-primed lash line allows for faster, more precise work.
Read more: Lash Primer for eyelash extensions and why it shouldn’t be skipped
How to use it:
- Place an under-eye pad to protect the skin from any product contact.
- Pour 1 or 2 drops of primer into a clean container or onto a micro brush
- Gently brush the applicator along the lash line and over the client’s lashes.
- Allow it to dry completely (within 30 seconds) before moving on.
Pro Tip: Primer can not take the place of a lash shampoo. Lashes must be washed carefully and dried before primer application. Avoid using too much primer. If needed, wipe off any excess to prevent it from running into the client’s eyes.
Step 5: Accelerate application with Lash Accelerator
The next step before the eyelash extensions process is to use a lash glue accelerator. This product works wonders in enhancing adhesive performance and ensuring flawless application.
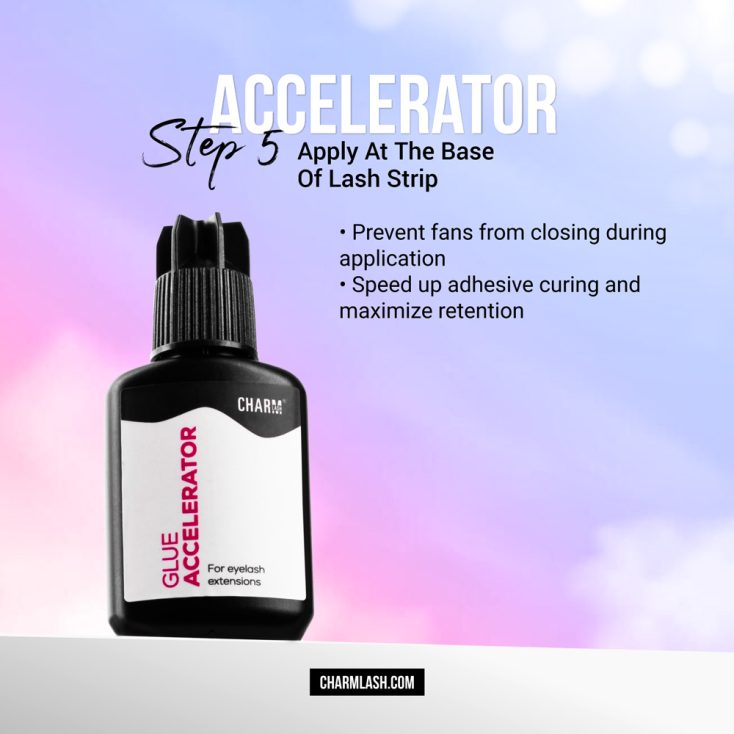
Why use a Lash Accelerator?
- Improves adhesive speed: Speeds up the drying time and curing time of the lash adhesive(especially in low humidity), without causing shock polymerization, at the same time stop adhesive from closing the fan
- Ideal for busy lash artists: ensuring a quicker, more efficient eyelash extensions process and serving more clients in a day.
- Boosts Retention: Enhances the bond between the natural lash and the extension for long-lasting results.
- Prevents Lifting: Reduces the risk of premature lash shedding or lifting.
How to use it:
- Apply the accelerator to the base of the lash strip where the adhesive will be applied.
- Use a micro brush for precise application without overloading the lashes. Ensure that the accelerator is evenly distributed along the base of each extension.
- Let it dry completely for 1-2 minutes before proceeding with the eyelash extensions process.
Pro Tip: Use in low humidity to rebalance the adhesive curing time. Be careful when using a nano mister or nebulizer, as too much moisture can cause a chemical reaction called shock polymerization, which may cause the adhesive to turn white.
The complete 5-step process for pre-treatment
- Cream Remover – For safe and gentle removal.
- Lash Shampoo – For thorough cleaning and oil-free lashes.
- Protein Remover – To prep lashes for strong bonding.
- Primer – To ensure seamless adhesive application.
- Accelerator – To speed up drying and improve retention.
By following these steps, you’ll create a smooth, efficient workflow that leaves your clients with stunning, long-lasting lash extensions and keeps them coming back for more!
How long is eyelash extension process?
The eyelash extensions process usually takes 1.5 to 3 hours, depending on factors such as the client’s natural lash count, the type of extensions being applied (classic, volume, hybrid, or mega volume), and the lash technician’s skill level and speed.
If you’re getting a fill, which is a touch-up session to replace lashes that have shed since your previous appointment, it generally takes less time than applying a full set. Fill appointments typically last between 45 minutes to 1.5 hours, depending on the number of lashes that need to be replaced and the condition of your current extensions.
Wrapping it up
Streamlining your eye lash extension process doesn’t just save time—it elevates your work and keeps your clients coming back for more. By incorporating these 5 simple steps into your routine—you’ll ensure flawless application and long-lasting results every time.
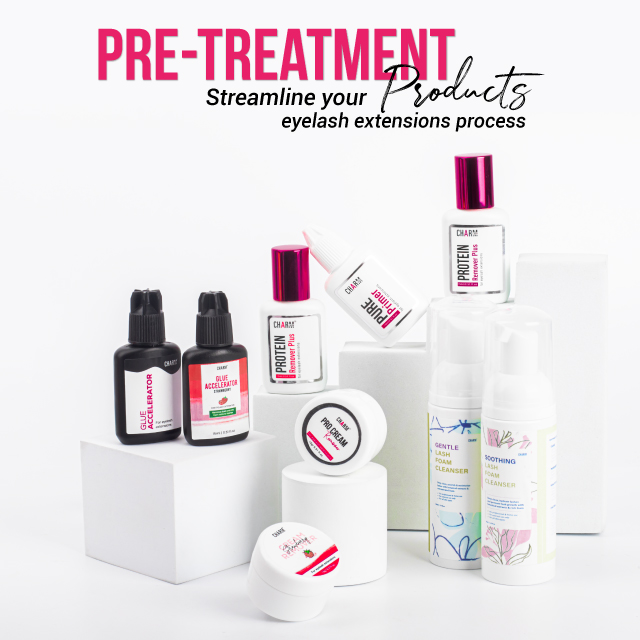
Need high-quality lash supplies? Explore our range of professional pre-treatment lash products to support every step of your eyelash extensions process!
Don’t forget to follow us on Pinterest & Instagram for more helpful lash tips!
MAYBE YOU WANT TO KNOW MORE:
Tips to prolong shelf lives of eyelash extensions products
How To Speed Up The Lash Extension Process?
The difference between lash glue accelerator, super bonder, primer and booster?


