If you’re just starting your lash career, you’re probably feeling excited—but also a little overwhelmed. Don’t worry, we’ve all been there! This guide will walk you through the most essential beginner lash artist tips that every new lash tech should know to build a strong foundation, avoid common mistakes, and grow with confidence.
Whether you’re still in lash training for beginners or just took your first client, these tips will teach you how to get better at lash extensions and work smarter, not harder.
How to become a lash tech: Start with the basics
Before diving into sets and tweezers, you need to understand what it really takes to become a lash tech. Depending on where you live, you might need a license or certification, so make sure to check your local regulations.

Investing in proper lash training for beginners is non-negotiable—because good technique equals happy clients and long-term success.
Pro tip: Start with classic lash application to build confidence and control. Don’t rush into volume sets too early. Learning how to isolate and place each lash precisely will pay off later.
Wanna discover the best lash training courses that suit you? Check out our top list here.
Top 10 beginner lash tech tips for success
These are the most important beginner lash tech tips to guide you through your first months behind the lash bed:
Master isolation before anything else
Isolation in lash extensions is the foundation of safe and beautiful lash sets. One lash extension should be applied to one natural lash—no stickies, no shortcuts. Poor isolation can cause discomfort, poor retention, and even lash damage.
Choose the right lash adhesive for beginners
Not all glues are created equal. As a beginner, you should use a lash adhesive for beginners—usually one with a slower drying time (3–5 seconds) to give you room to adjust placement. Avoid fast-drying glues until your speed improves.
If you’re not sure how to choose the right glue for your speed and environment, check out our Eyelash Adhesive 101 guide for a beginner-friendly breakdown of drying times, humidity ranges, and key ingredients.
Learn lash lengths, curls, and thicknesses
Not every client can wear long, curly lashes. You need to understand what the natural lashes can safely hold. This will prevent overloading and damage. Build your lash map based on eye shape and lash health.

To get a clearer understanding of lash curls, lengths, and thicknesses, explore our guide on eyelash curl chart and lash extension thickness to learn which styles work best for your clients.
Never skip lash cleansing and prep
Clean lashes = better bond. Always cleanse with a lash-safe cleanser, rinse well, and dry completely before applying primer or taping. Good retention starts with clean lashes!
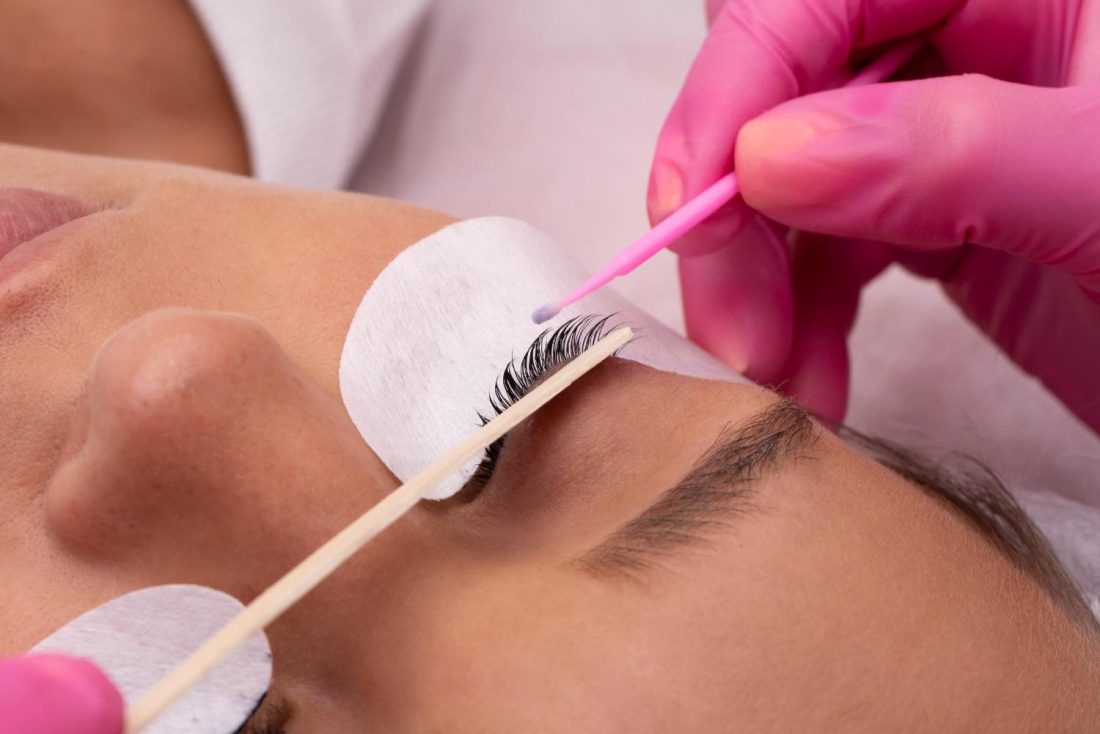
This is one of those eyelash extension tips for beginners that will truly make or break your sets.
Control your lash room conditions
Humidity and temperature affect how your glue performs. Use a hygrometer to check your lash room daily. If your glue is drying too fast or too slow, adjust the humidity or switch to a different adhesive.
Stick with classic lash application first
We know volume lashes look fun—but don’t skip the basics. Practicing classic lash application gives you the muscle memory you need for good pickup, placement, and direction. Once you’re confident, move into volume techniques.
Classic lashes aren’t just for practice—they’re a timeless style that never goes out of demand. Many clients prefer the natural, clean look of classic extensions for everyday wear, making it a top choice for lash lovers and a must-have skill for every lash tech.
Create and follow a lash mapping guide
Mapping helps you stay consistent and symmetrical. Use a lash mapping guide to plan your lengths and curls before you start. This also gives your clients better results tailored to their eye shape.

Communicate clearly with your clients
Good client experience isn’t just about lashes. Listen to what they want, explain what’s realistic, and always review aftercare. Confidence in your communication will help build long-term trust.
Don’t skimp on lash extension supplies
Use high-quality lash extension supplies from professional brands. This includes lashes, glue, tweezers, tape, under-eye pads, and cleanser. Investing in good tools makes learning easier and results better.
Need some tips to choose the best lash suppliers? Check out our guide on how to choose the best lash supplier.
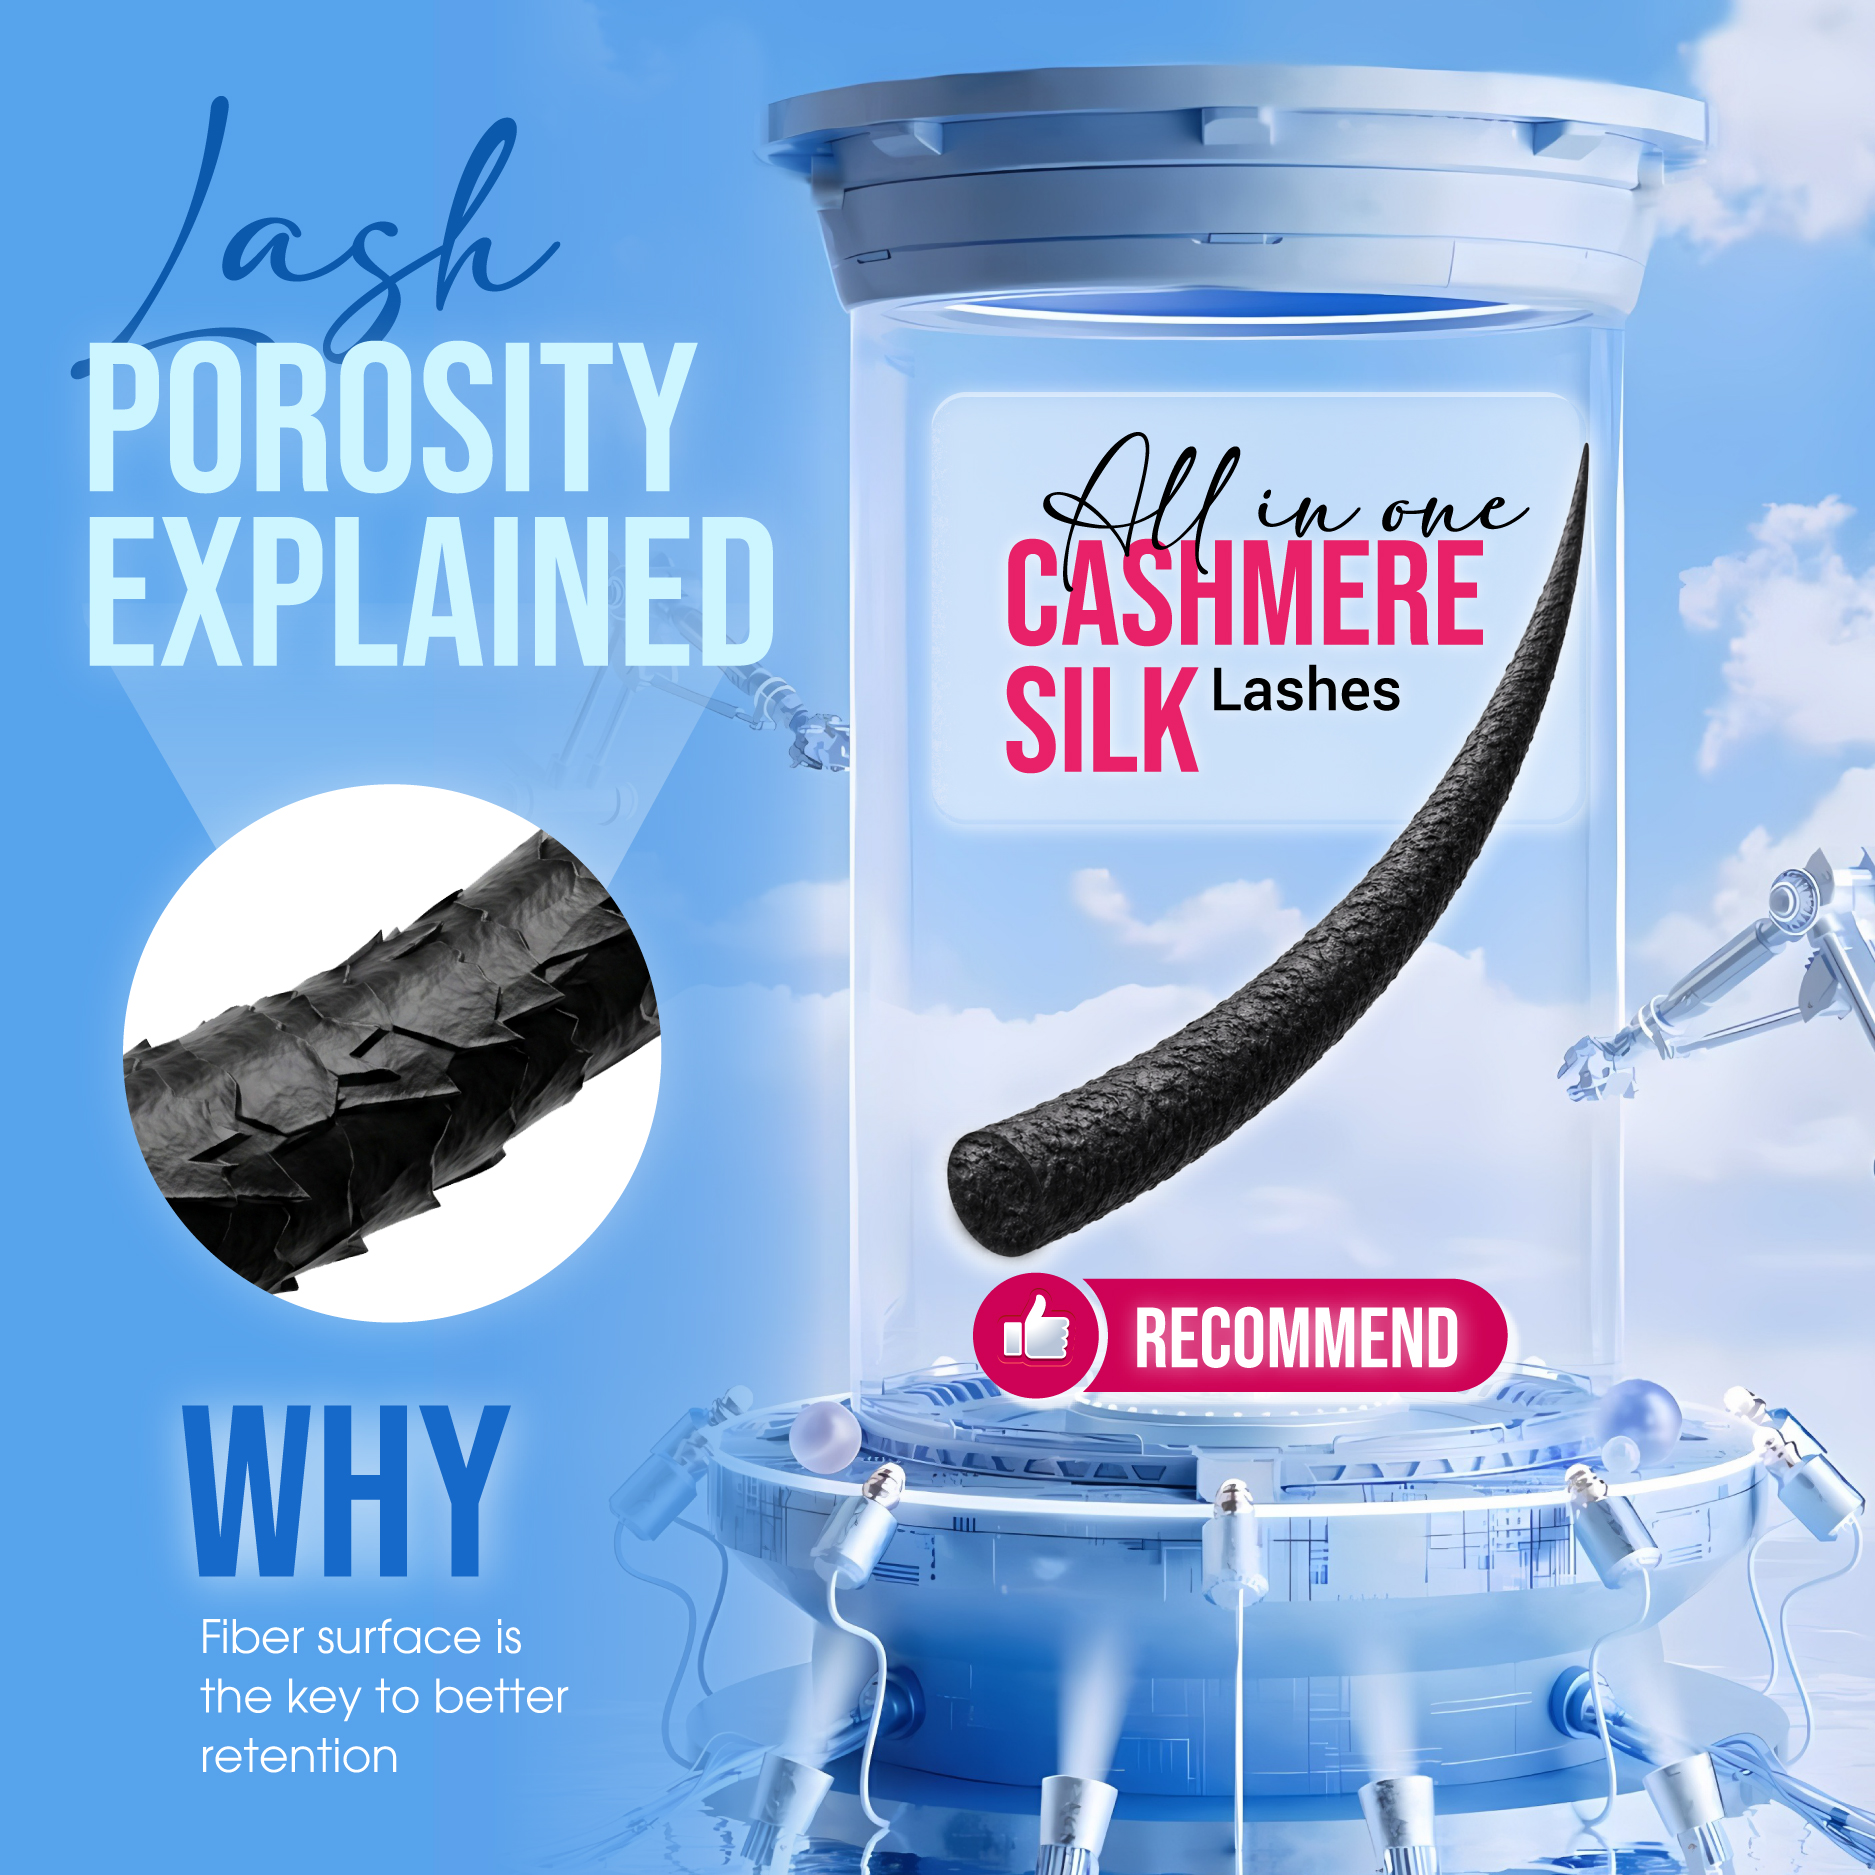
Retention is not just about glue
Everyone talks about glue, but lash retention tips go beyond that. Great retention depends on:
- Proper cleansing and prep
- Good placement and direction
- Humidity control
- Correct lash weight and length
- Client aftercare
Common mistakes beginner lash techs should avoid
Even the best students make mistakes. Here are some common issues and how to avoid them:
- Using too much glue → causes clumps
- Skipping isolation → leads to lash damage
- Ignoring room conditions → poor retention
- Forgetting lash maps → uneven designs
Rushing through the appointment → stress + errors
Checklist for beginner lash artists
Starting your lash journey means having the right tools by your side. A well-prepared lash kit makes learning smoother, helps you practice with confidence, and ensures you’re ready for real clients when the time comes. If you’re not sure what to include, we’ve put together a detailed lash extension kit for beginners checklist to help you build your first kit with all the must-haves—from tweezers to adhesive and more.
Trust the process and keep practicing
Becoming a great lash tech doesn’t happen overnight. Take your time, focus on these beginner lash tech tips, and stay consistent. Every set you do is a step forward, even the imperfect ones.
Keep learning, take feedback positively, and don’t compare your beginning to someone else’s middle. You’ve got this!
For daily lash tips, behind-the-scenes peeks, and product updates, follow us on Instagram @charmlashvn – we’d love to connect with you!