As a beginner lash artist, lash isolation might seem like a daunting task that takes forever to perfect. You might find it tricky to separate each lash, leading to a messy or uneven application. But the good news? With the right techniques, isolating lashes can become second nature—without sacrificing quality.
What is Lash Isolation?
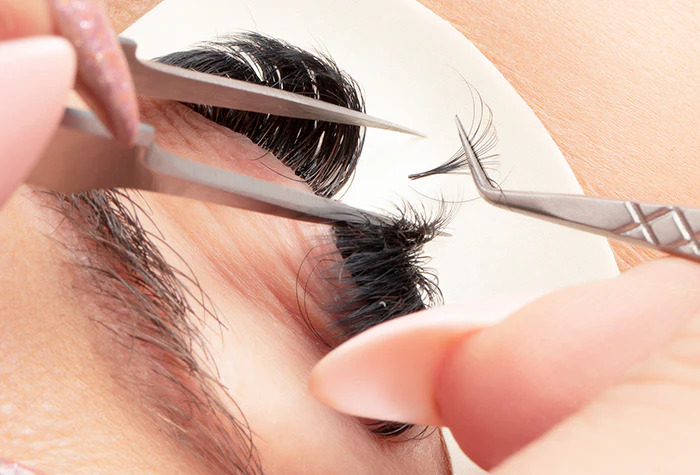
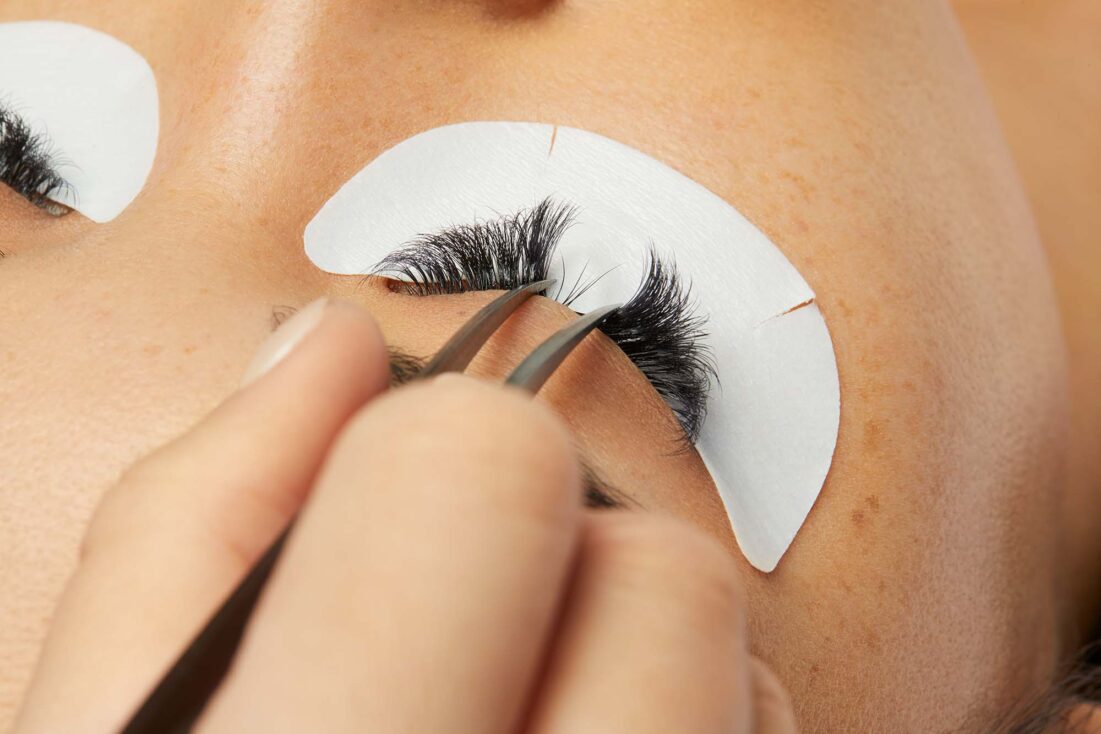
Lash isolation is the technique of carefully separating individual natural lashes so that a single lash extension can be applied to each one. This method is crucial for preventing multiple lashes from sticking together, which can cause clumping, discomfort, or even damage to the natural lashes. Lash isolation is essential for clients with thin or sparse lashes as these tend to stick together more easily, making the extension process more difficult.
Why is Lash Isolation Important?
It’s crucial not to rush this step! Take your time to isolate each lash properly to avoid damaging them or having extensions fall off during the application process. If you isolate too quickly or incorrectly, your client’s natural lashes may become stuck together, making the removal process challenging and problematic. Proper isolation is essential to ensure the health of the natural lashes and the longevity of the extensions
Plus, effective isolation is a crucial factor in creating clean and well-defined lash sets, as it protects the natural lashes from potential damage. Each of our eyelashes goes through a growth cycle, and if any are glued together, they won’t shed as they should. Isolation facilitates the natural shedding process, allowing the lashes to maintain their health and integrity.

Benefits of Proper Eyelash Isolation
Here are some benefits of proper lash isolation,
- Preventing Damage: One of the most significant benefits of lash isolation is the protection it offers to natural lashes. When lash extensions are improperly applied to multiple natural lashes, it can cause stress and strain on those lashes, leading to breakage or premature shedding. Isolation ensures that each natural lash bears the weight of just one extension.
- Enhancing Retention: Proper isolation improves the bond between the natural lash and the extension. A well-isolated lash allows for optimal adhesive application, which in turn enhances retention. This means clients can enjoy their extensions for a more extended period without the need for frequent touch-ups.
- Creating a Clean Look: Isolated lashes provide a cleaner, more polished appearance. When lash extensions are applied without proper isolation, the result can appear messy and unprofessional. Isolation helps to create a uniform look that is aesthetically pleasing.
- Speeding Up Application: While isolation may seem time-consuming at first, mastering this technique can significantly speed up the overall application process. When a lash artist becomes adept at isolating lashes efficiently, they can work more quickly and effectively, ultimately improving their service time.
- Avoiding Lash Stickies: Improper isolation during extension application can cause lashes to stick together, leading to “lash stickies.” This can damage follicles and result in bald spots. Clumped lashes create discomfort and can obstruct clients’ vision. Proper isolation avoids these issues, ensuring healthy natural lashes and secure extensions.
4 Common Ways to Master Lash Isolation
Here are 4 common ways on how to separate eyelashes. This eyelash extension tips will help you master the lash isolation skill to a next level:
1. Use Lash Tape
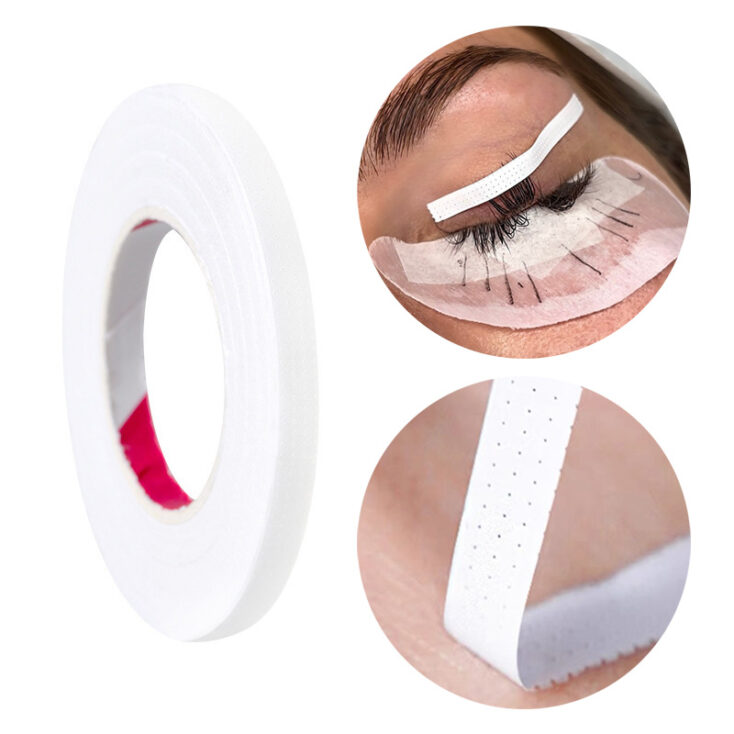
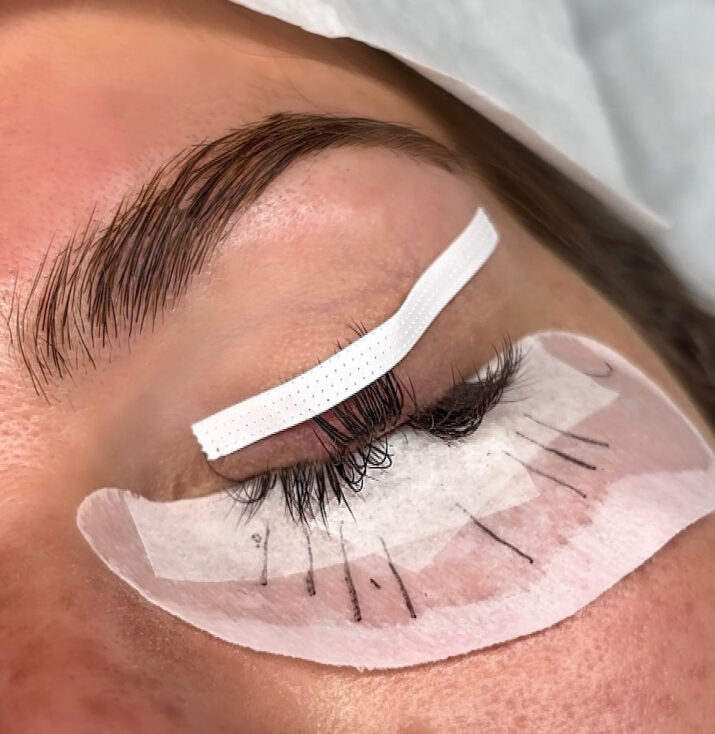
One effective method for isolating lashes is using lash tape, which is particularly beneficial for clients with dense lash lines and numerous natural lashes. Before applying the tape, it’s a good idea to detack it slightly to minimize any discomfort. This can be done by pressing the tape against your hand first.
For more, read our ultimate guide on Master The Art Of Lash Taping – Tips And Techniques – CharmLash
2. Use Gel Pads
For clients with sensitive skin or those prone to irritation, gel pads offer a gentler and more comfortable alternative to lash tape. They are easy to apply, flexible during the process, and leave no residue. In fact, many lash artists find it helpful to layer gel pads over lash tape. This layering technique adds an extra buffer, making sure the removal process is even gentler and reducing any risk of pulling on the skin when you take them off.
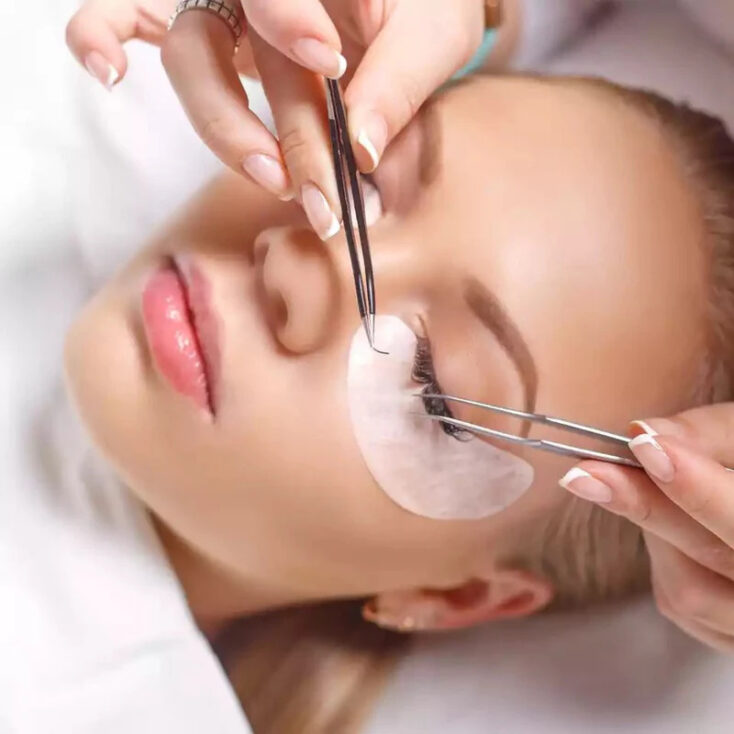
For a detailed guide on how to isolate lash layerss using gel pads, watch this tutorial:
3. Use Your Fingers
If tweezers aren’t working for you, try using your fingers to isolate lashes. This technique offers better control, allowing you to feel the lashes and separate them more accurately. It’s especially useful for clients who already have extensions, as fingers can easily maneuver around existing lashes.
4. Use Lash Tweezers
Lastly, using a pair of tweezers can greatly improve your lash isolation technique. Many artists rely on just one pair, but utilizing both can make isolating tiny lashes much easier. When using two tweezers, angle the isolation tweezer downward toward the lashes and the pick-up tweezer upward to enhance your visibility.
Having the right tools makes all the difference. For beginners, dual-tweezer approach is highly recommended to boost efficiency during the application process. And here we have some essential types of tweezers for you to master lash isolation techniques:
- Pointed Isolation Tweezers
- Straight Isolation Tweezers
- Angled Isolation Tweezers
By applying these techniques, you can enhance your isolation skills and ensure a more comfortable experience for your clients. Here is the helpful video to help you practice the isolation technique:
Lash Stickiness & Lash Tips to Prevent When Isolating Lashes
One of the most common challenges lash artists face is dealing with lash stickiness during the isolation process. Here’s how to avoid it:
1. Drying Time of Adhesive
One primary reason for sticky isolation is the drying time of the adhesive. If you use a slower-drying adhesive, it may remain wet while you attempt to isolate the lashes. This can result in the adhesive causing neighboring lashes to stick together, leading to a messy application. It’s crucial to choose an adhesive with a drying time that matches your working speed.
Discover our fast-drying glues to discover suitable lash adhesives based on your techniques and skills here.
2. Humidity and Temperature
Environmental factors, such as humidity and temperature, significantly affect adhesive behavior. High humidity levels can prevent the adhesive from drying properly, resulting in a sticky texture. This situation is especially common in humid weather or uncontrolled environments. Conversely, low temperatures can also slow down the drying process, causing the adhesive to remain tacky and lead to sticking between lashes.
3. Residue on Natural Lashes
Another factor that can contribute to sticky eyelash isolation is the cleanliness of the natural lashes. If the lashes are not adequately cleaned, any oil or residue present can interfere with the adhesive’s performance, leading to stickiness. It’s essential to ensure the natural lashes are free from makeup, oils, or other contaminants before starting the application.
4. Isolation Technique
The technique used for isolating the lashes is crucial in preventing stickiness. If the lashes are not isolated correctly, adjacent lashes may inadvertently stick together. Proper isolation requires precision and care, so it’s important to focus on each lash to avoid any unintentional adhesion.
5. Excessive Adhesive Use
Using too much adhesive can also lead to sticky isolation. When excessive adhesive is applied to each extension, it can cause the lashes to become tacky and stick together. It’s best to use a small amount of adhesive to ensure a clean application and avoid unnecessary stickiness.
Tips for Beginners to Improve Lash Isolation Skills
Improving your eyelash isolation skills will not only lead to better results for your clients but also speed up your application process, making your work more efficient and precise. Here are some helpful tips to guide you on your journey to becoming a lash isolation pro
- Be Patient: Mastering lash isolation takes time and practice. Don’t rush the process; instead, focus on developing your technique steadily.
- Practice Consistently: Regular practice is essential. Dedicate time each week to hone your isolation skills, whether through practice on a mannequin or real clients.
- Seek Feedback: If you’re in a training program or working alongside experienced lash artists, seek their feedback on your isolation technique. Constructive criticism can help you improve more quickly.
- Watch Tutorials: Utilize online resources, including videos and articles, to learn from others. Observing experienced artists can provide insights into effective isolation techniques.
- Stay Calm and Focused: Isolation requires concentration. Create a calm work environment and eliminate distractions to maintain focus during the application process.
- Invest in Quality Tools: High-quality tools can make a significant difference in your isolation technique. Invest in good tweezers and other essential tools to enhance your performance.
- Understand Natural Lash Growth Patterns: Familiarize yourself with the growth patterns of natural lashes. This knowledge can help you better isolate lashes and apply extensions more effectively.
Conclusion
Mastering lash isolation is a crucial step in becoming a professional lash artist. While it may seem challenging at first, patience, practice, and the right techniques will help you improve your skills and deliver beautiful, long-lasting lash extensions for your clients.
By investing time in refining your isolation technique, using quality tools, and understanding the factors that can affect your work, you’ll gain the confidence needed to perform flawless applications. As you continue to practice and perfect your skills, you’ll see how much easier and more efficient lash isolation becomes. So, stay patient, stay focused, and keep learning—you’re on your way to becoming a lash isolation expert!
Follow us on Instagram for more helpful lash tips!
MAYBE YOU WANT TO KNOW MORE:
Must-have Lash Extension Kit For Beginners – CharmLash
https://charmlash.com/get-ready-how-to-become-a-lash-technician/
How to become a lash technician – complete guide for beginner lash artist!


