Hey fellow lash artists! Today, we want to dive into a topic that many people might not think about when it comes to lash extensions: lash extensions on bottom lashes. While most of us focus on enhancing our top lashes, it’s essential to recognize the role that bottom lashes play in creating a beautiful overall look. So, let’s explore the wonderful world of bottom lash extensions together!
What Exactly Are Bottom Lash Extensions?
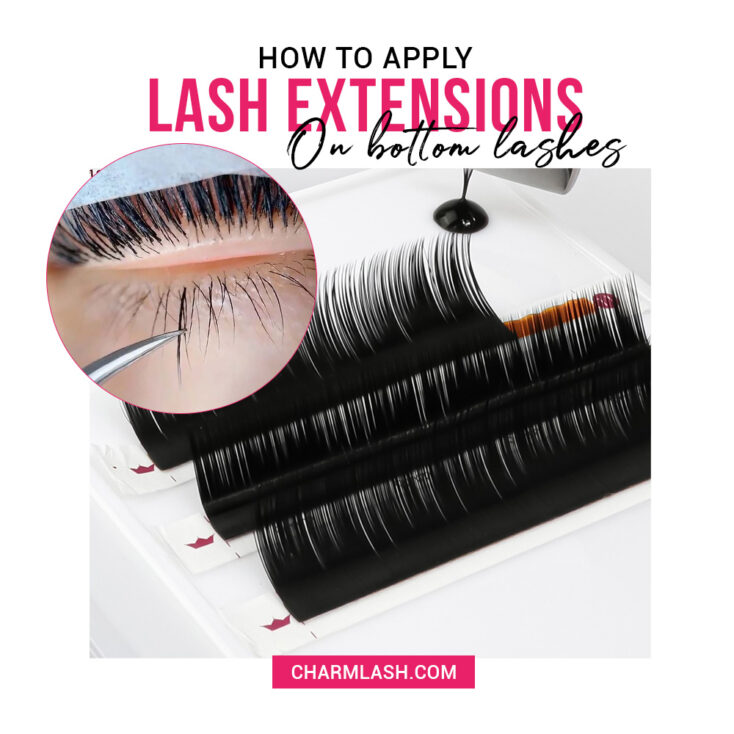
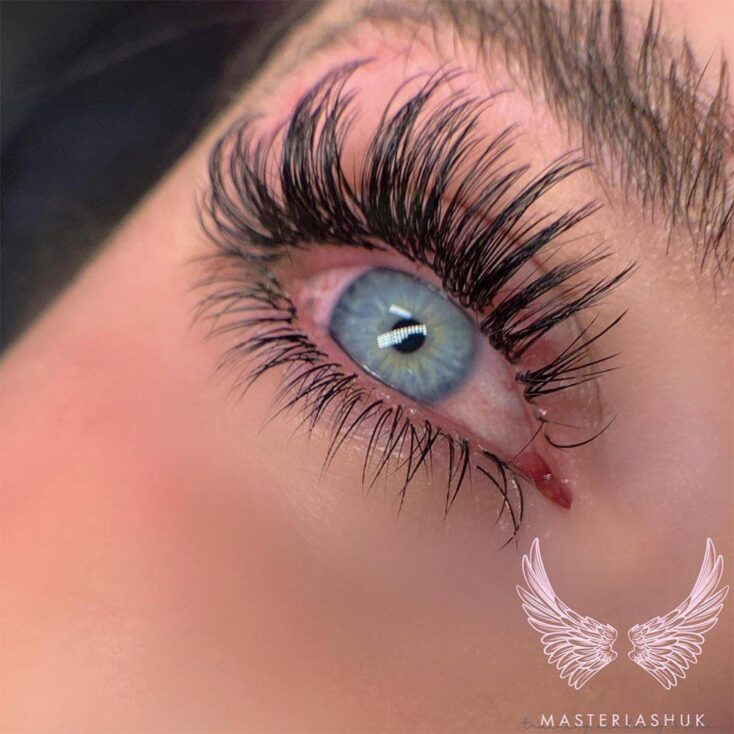
So, let’s break it down. Lash extensions on bottom lashes are just like the ones we’re used to on the top lashes, but they’re applied to the natural lashes on your lower eyelids. They use the same techniques as classic lash extensions, resulting in a defined and dramatic gaze. When done right, they can add depth and dimension without going overboard.
We’ve seen incredible results with bottom lash extensions, especially paired with styles like Doll Eye, Anime or Kim K lashes. Imagine those long lashes in the center of the eye, perfectly balanced with bottom lashes for a stunning, eye-opening effect. Seriously, it’s a match made in lash heaven!
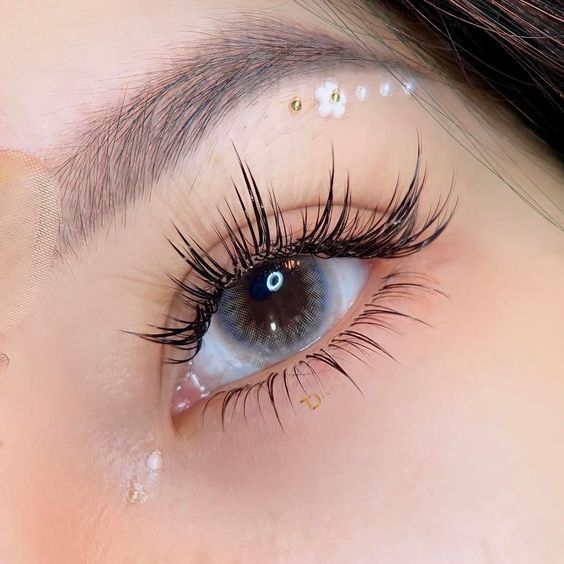
Who is Suitable for Bottom Lash Extensions?
Bottom lash extensions can elevate any lash set. They’re especially great for clients who love that full, fluttery look, or for those special occasions like weddings when you want to avoid any mascara mishaps. Who wants to worry about smudging mascara during a tear-filled moment? Not me!
Who Should Skip Them?
However, bottom lashes aren’t for everyone. If your client has very short or sparse lower lashes, it’s best to leave them bare. Adding extensions might not only put extra strain on those delicate lashes but also lead to poor retention. We also want to avoid applying them on clients with lower lashes that point upward or on more mature clients whose skin has lost some elasticity. In these cases, bottom lashes might not look or feel right.
How to apply bottom lash extensions?
1. Curl, length and thickness to use
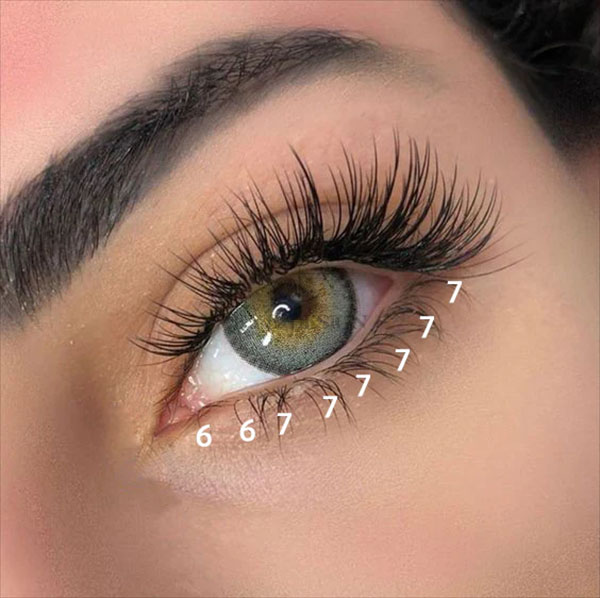
When it comes to selecting lash extensions on bottom lashes, think delicate. The lower lashes are shorter and thinner than the top ones, so we want to mimic that. We usually recommend lengths between 4-7 mm. For thickness, anything around 0.10 – 0.15mm is great, but ultimately it depends on your client’s preferences and natural lash strength. As for the curl, J, B, C, and D curls work the best. These options help keep the look natural and flow nicely with the existing lashes.
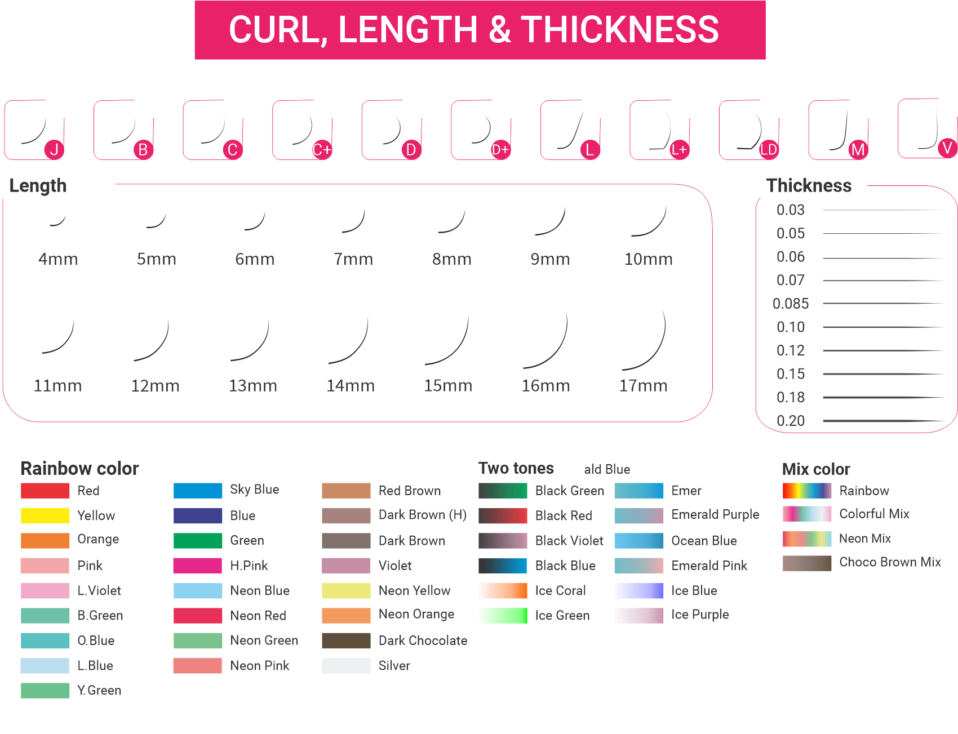
For the best results, we highly recommend our Faux mink lashes for bottom lash extensions, available in 0.10, 0.12, and 0.15 thicknesses, with lengths from 4-7 mm and curls in J, B, C, and D.
2. Application process
Step 1: Prep the Lashes
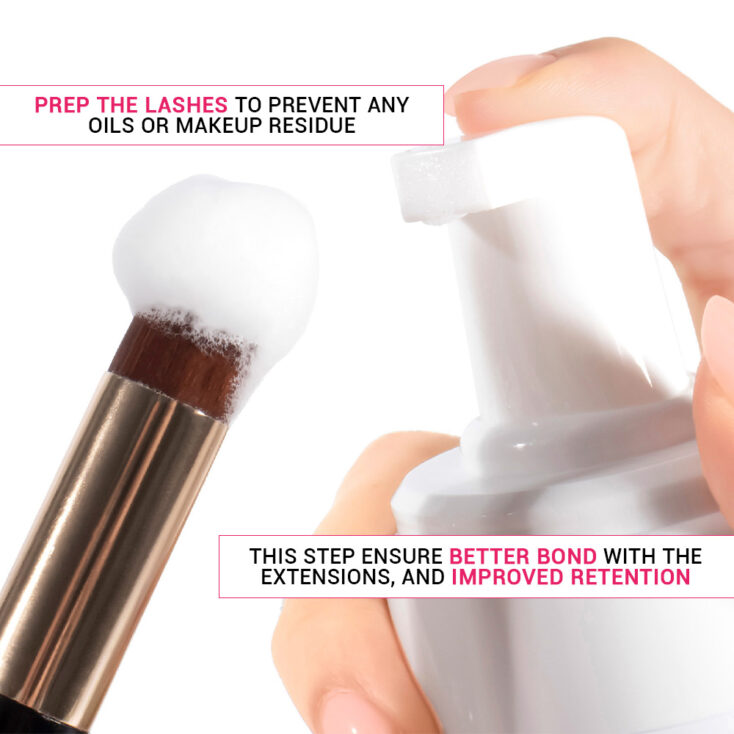
First things first—let’s get those lower lashes ready for action! Make sure they’re clean and free from any oils or makeup residue. This is crucial because a clean lash means a better bond with the extensions and improved retention. Use a gentle lash cleanser and a soft brush to remove any dirt or grime. Your client’s lashes will thank you later!
Step 2: Separate the upper lashes
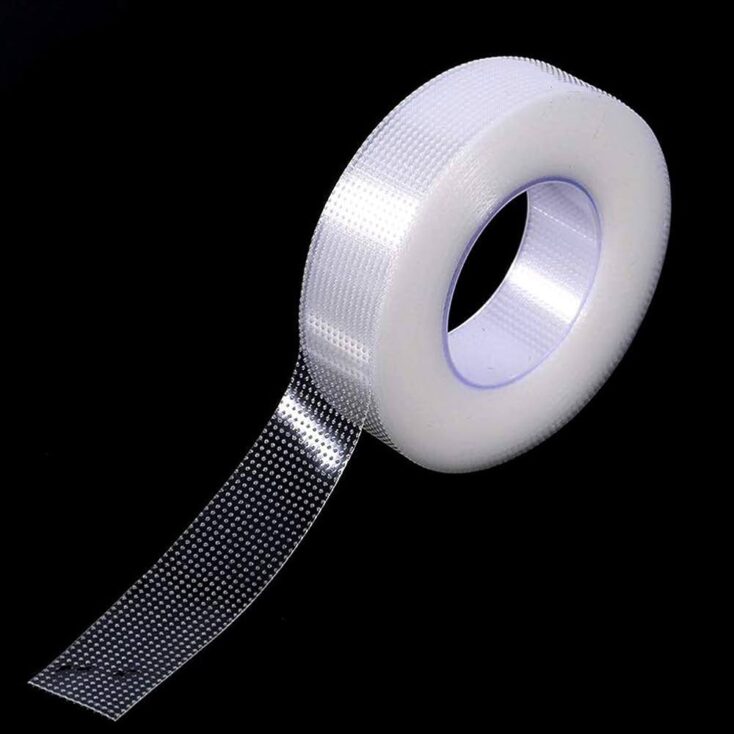
Now it’s time to protect those top lashes. Grab some micropore tape to keep them out of the way. This step is a very crucial step before you apply lash extensions on bottom lashes! It not only prevents upper lash extensions sticking to bottom lashes but also gives you a clear view of what you’re working with. Next, it’s time to apply the eye pad, which will be a bit different when working with bottom lashes. Since the lower lashes will be exposed during the process, make sure to place an eye pad beneath them to facilitate the application.
Step 3: Prime the lashes
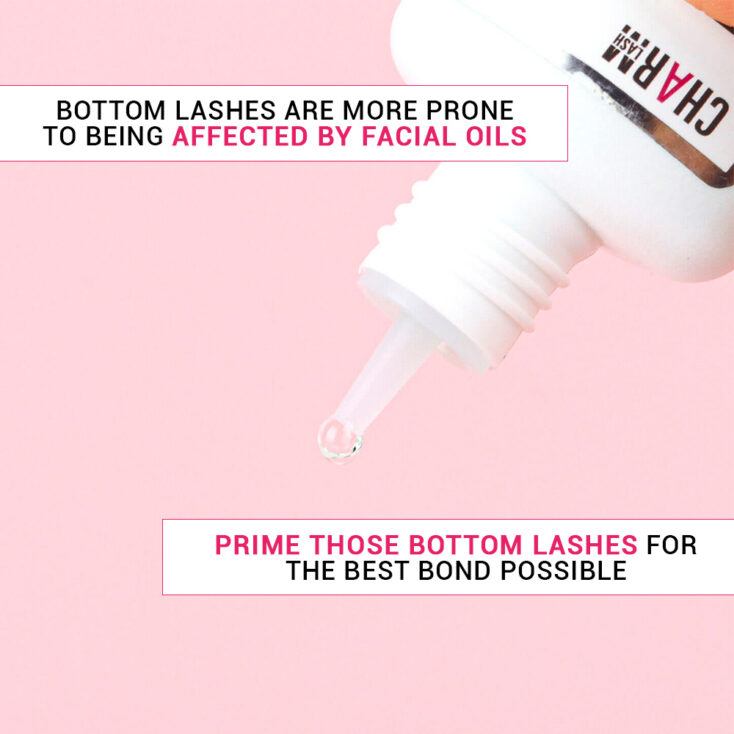
Once your client is all comfy and ready to go, it’s time to prime those bottom lashes for the best bond possible. Since bottom lashes are in direct contact with our skin, they’re more prone to being affected by facial oils. That’s why it’s super important to use a lash primer on those lower lashes! The good news is that the process is exactly the same as for the upper lashes. Just follow the same steps, and you’ll be set for great results!
Step 4: Lash Isolation and Application
Here comes the fun part! Start by isolating each lash extensions on bottom lashes using your fine-tipped tweezers. This step is super important—make sure you’re only picking one lash at a time. Once isolated, it’s time to apply the extensions (similar to what you do in a classic set). Dip the extension in your adhesive and gently place it on the isolated lash, following its natural downward direction. This technique helps achieve that effortless, natural look we all crave.
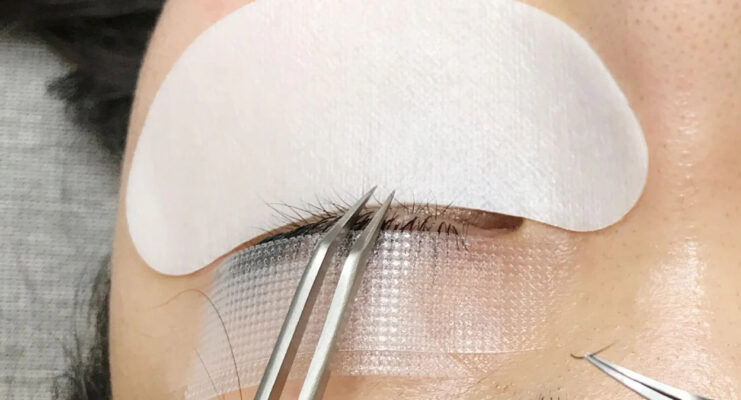
If you want to know more about isolation technique, you can read through this guide here.
Step 5: Apply super bonder
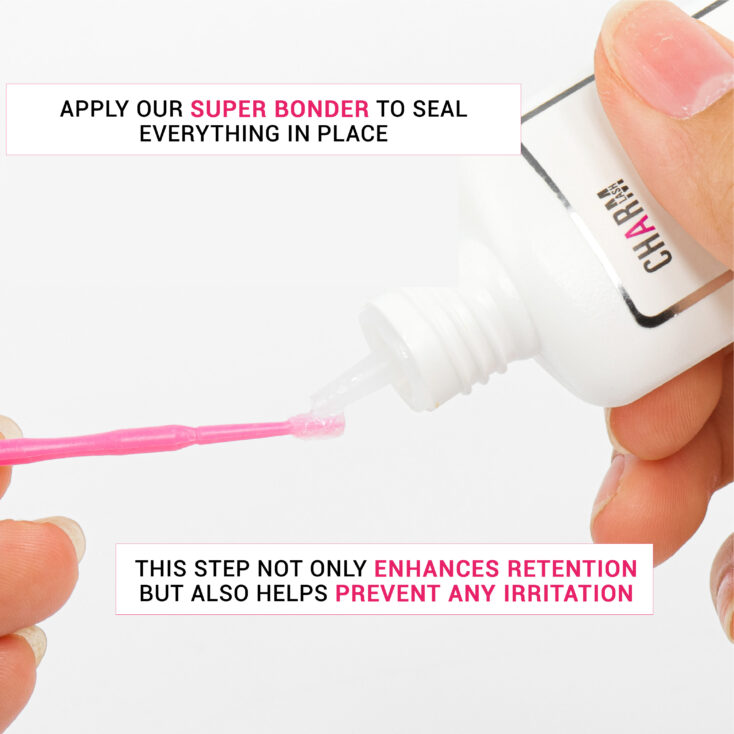
After you’ve applied all the extensions, don’t skip the final touches! Apply our super bonder to seal everything in place. This step not only enhances retention but also helps prevent any irritation by keeping moisture away from the adhesive. Your clients will love the results, and you’ll feel great knowing you’ve done everything to ensure their lashes last.
And just like that, you’ve got gorgeous lash extensions on bottom lashes! It may feel a bit awkward at first, but with practice, it’ll become second nature.
Things to Avoid When Doing Lash Extensions on Bottom Lashes
1. Skipping Protection Under the Lower Lashes
One of the biggest mistakes some lash artists make is not placing anything under the client’s lower lashes. Trust me, you absolutely need to use eye pads or tape to protect that area. When you’re working on the lower lashes, your tweezers will be pointing downwards, which increases the risk of accidentally poking your client’s face. To avoid any mishaps, always make sure to place eye pads or tape under their eyes!
2. Open Their Clients’ Eyes During Application
Another one is asking your clients to open their eyes while you’re applying the extensions. Seriously, don’t even think about it! Keeping their eyes open can expose them to glue fumes, which can lead to irritation or even allergies. Your client’s comfort and safety should always come first, so keep those eyes closed until you’re completely finished!
IV. Aftercare tips for Bottom Lashes
Aftercare for bottom lashes is pretty similar to upper lashes! Keep them clean, avoid rubbing your eyes, and stay away from oil-based products that can break down the adhesive. Just be a little more mindful since bottom lashes come into direct contact with your skin more often. Regular gentle cleansing is key to keeping them looking fresh!
FAQs
Here are some frequently asked question for lash extensions on bottom lashes:
1. How long does the application process take?
Typically, the whole process takes around 30 minutes. It really depends on the skill level of your lash artist and the style you’re going for.
2. Will bottom lash extensions feel heavy?
Absolutely not! When your lash artist uses high-quality products and applies them correctly, they should feel super lightweight and natural. If they ever start to feel heavy or uncomfortable, definitely let your artist know.
3. Can you put mascara on bottom lashes with eyelash extensions
While adding mascara to lash extensions on bottom lashes can give an extra boost, we don’t recommend it. Mascara can cause clumping and shorten the lifespan of your extensions.
4. How long do bottom lash extensions last
Bottom lash extensions usually have a shorter lifespan, typically lasting only about 1 to 2 weeks. This shorter duration is mainly because bottom lashes tend to be more exposed to oils and everyday wear. But don’t worry—you can absolutely refresh your look with a refill after those two weeks to keep everything looking fresh
5. How to remove bottom lash extensions
To remove lash extensions on bottom lashes, follow the same process as with upper lashes, but be extra cautious to keep the remover away from the eyes. We recommend using our gentle cream remover for effective and safe removal. Just apply it carefully at the base of the extensions and let it work its magic!
6. How much should you charge for lash extensions on bottom lashes?
Well, pricing can vary based on location and experience, but generally, bottom lash services tend to be priced a bit lower than upper lash extensions. You can charge anywhere between $30 to $60/set, depending on your skill level.
Final Thoughts
So, whether you’re a seasoned lash artist or a beauty enthusiast looking to explore this trend, bottom lash extensions are definitely worth a try. They can truly transform a look and give your clients that extra wow factor. We can’t wait to see your stunning lash creations! And if you’re new to the lash game, welcome! There’s so much to learn and explore in this exciting world.
Feel free to reach out or check out more educational content on our socials for tips, tricks, and inspiration. Happy lashing!
Follow us on Instagram for more helpful lash tips!
MAYBE YOU WANT TO KNOW MORE:


