If you’re a home-based lash artist or a beauty professional looking to master the art of lash extensions, practicing at home is a great way to improve your skills. However, to achieve professional-quality lash extensions, you’ll need the right tools.
In this comprehensive guide, we’ll walk you through the essential tools for practicing lash extension at home, so you can create stunning lashes every time.
Why lash extension at home?
Before diving into the tools you’ll need, let’s explore why practicing llash extension at home is an attractive option for many beauty professionals:
- Cost-effective: Professional lash extension services can be expensive, especially when you need to purchase tools and products. By practicing at home, you can save money while honing your skills.
- Convenience: Practicing lash extension at home allows you to work on your own schedule. There’s no need to book appointments or drive to a salon—everything you need is right in your home.
- Flexibility: As a home-based lash artist, you can experiment with different styles, lengths, and curls, allowing you to customize your clients’ looks according to their preferences.
However, to achieve the best results when applying lash extension at home, having the right tools is crucial. Let’s take a closer look at the essential tools every home-based lash artist needs.
Essential tools for practicing lash extension at home
The first step to practicing lash extension at home is creating a comfortable, clean, and well-lit workspace. You’ll want a flat surface to work on, ideally with a cushioned chair for your comfort, and ample lighting to see all the details. After that, preparing every essential tool is key.
1. Eyelash extensions
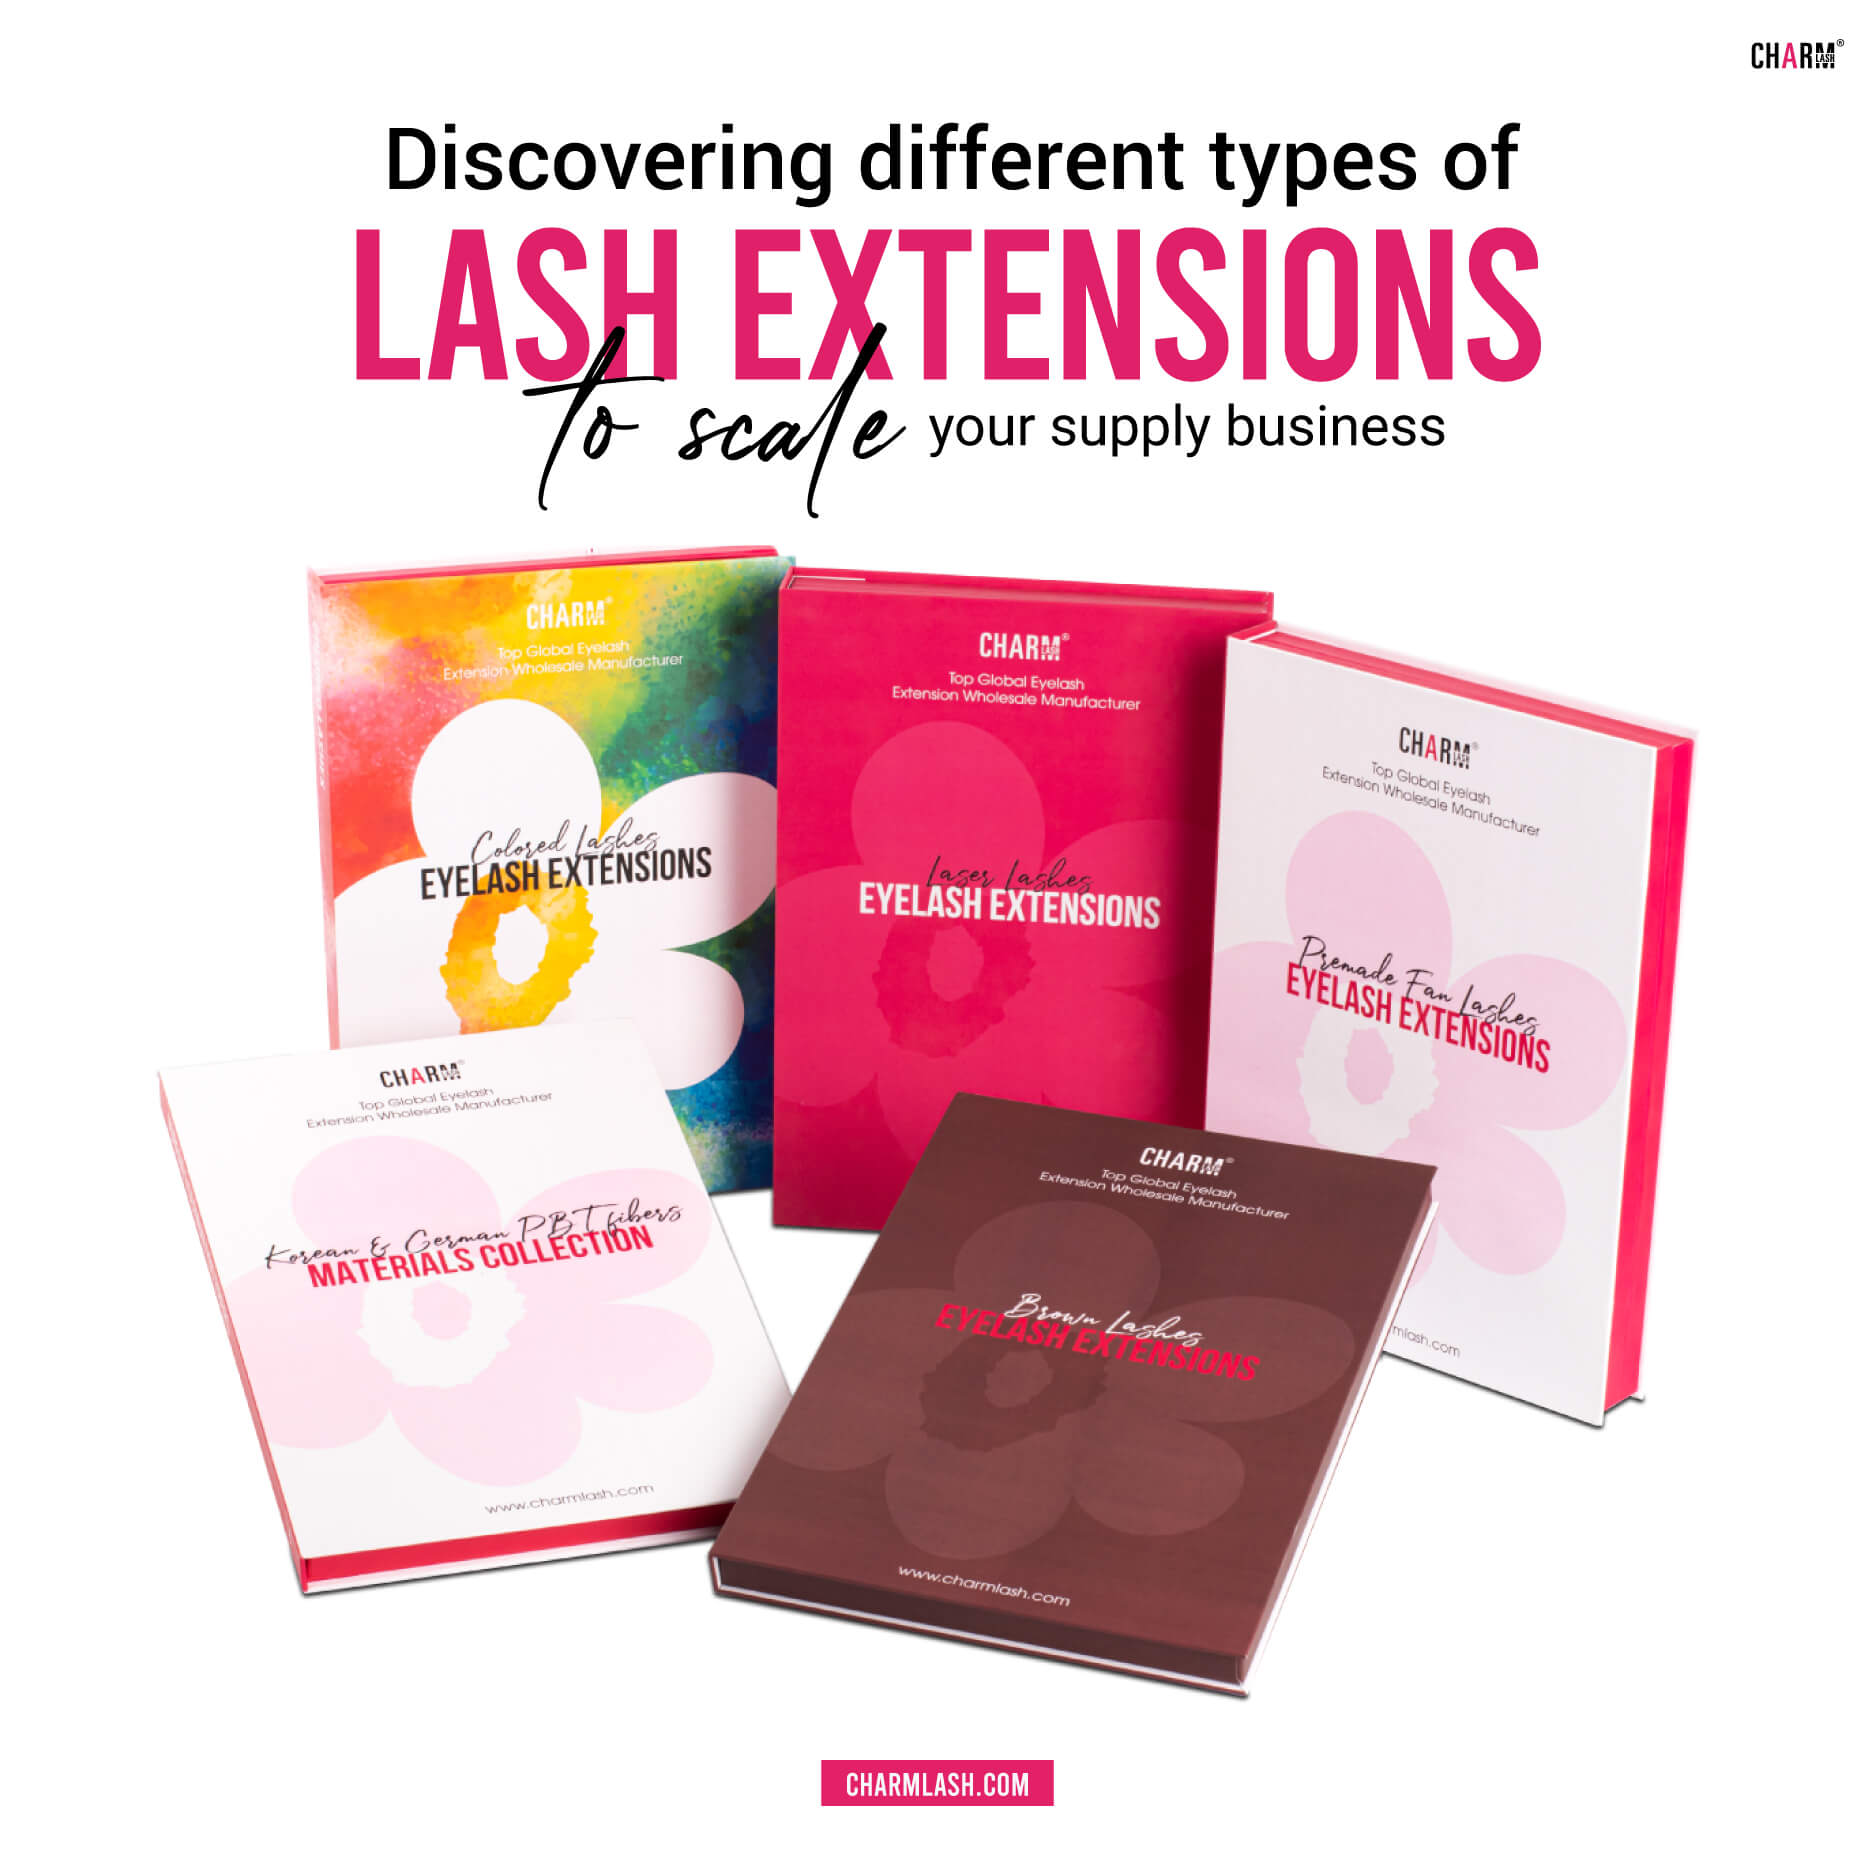
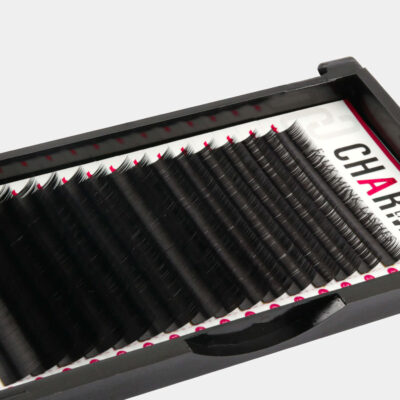
The first and most essential tool in your lash extension kit is, of course, the lashes themselves. There are several types of eyelash extensions to choose from, and each type has its own characteristics. There are different types of lashes to choose from, each type has its unique characteristics in terms of weight, texture, and flexibility. Choose lashes based on your practice goals, whether you’re looking to master volume, classic, or hybrid sets.
2. Lash adhesives
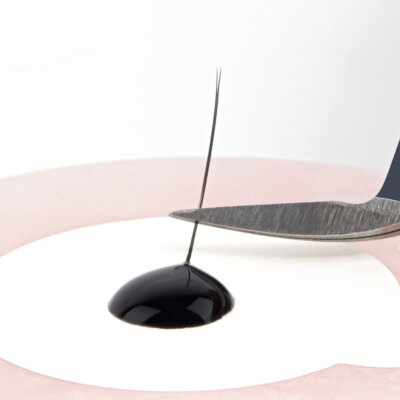
When practicing lash extension at home, choosing the right adhesive is essential for a secure and lasting bond. Select a high-quality adhesive that works well with your specific humidity and temperature conditions, and that offers a drying time that matches your speed. A fast-drying adhesive is ideal for experienced artists, while beginners might prefer a slower formula to give themselves more time to adjust the lashes.
3. Mannequin head
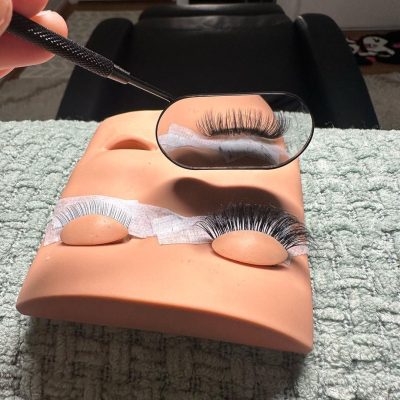
A mannequin head is an essential tool for practicing lash extension at home. It allows you to work on a realistic surface, mimicking the experience of applying lashes to a real client. You can experiment with different styles and techniques without worrying about causing discomfort or making mistakes on real clients. Choose a mannequin head with soft, lifelike features and removable eyelashes for easy practice.
4. Lash tweezers
Lash tweezers are essential for picking up and applying the lash extensions accurately. There are different types of tweezers, including straight, curved, and angled, each with a specific purpose. For example, curved tweezers are ideal for picking up the extensions and placing them precisely along the natural lash line, while straight tweezers are often used for isolation. Make sure to have a variety of tweezers on hand to experiment and find what works best for you.
5. Pre and post-treatment products
Here’s a list of essential pre and post-treatment products you should have in your tool kit. While these might not be necessary when practicing at home, following these steps will make you more professional when applying lash extensions to real clients

- Lash primer: Cleanse the natural lashes before applying extensions. It removes oils, makeup, and debris, creating a clean surface for better adhesive bonding.
- Lash accelerator: Speeds up the adhesive drying time, making your application process more efficient.
- Super bonder: Applied after the lash extensions are in place. It strengthens the adhesive bond, making the lashes last longer and reducing irritation from fumes. This step helps ensure the extensions stay secure for a longer period.
- Lash shampoo: Cleaning both the extensions and natural lashes. It removes dirt, oil, and makeup residue, preventing buildup that can interfere with the bond and irritate the eyes
- Lash remover: Even when practicing at home, it’s important to have a glue remover on hand for any mistakes or to remove extensions from your mannequin head.
7. Lash pads or tape
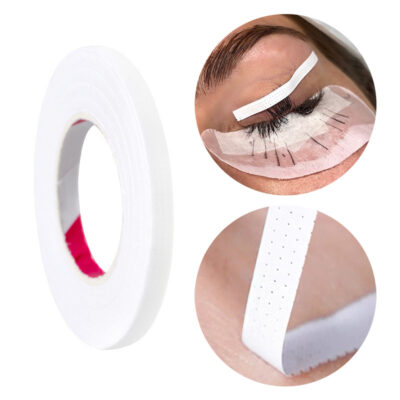
Lash pads or tape are essential for isolating the lower lashes and preventing them from sticking to the top lashes during the application process. Use gentle, hypoallergenic tape or silicone lash pads to avoid causing irritation. This step is particularly important when working on a mannequin head, as it allows you to focus on the top lashes without distraction.
9. Lash brushes
After applying the lash extensions, use a lash brush to gently comb through the lashes, ensuring they’re properly separated and positioned. This helps avoid clumping and ensures that the extensions have a natural, fluffy look. It’s also important for teaching clients how to maintain their lashes post-application.
10. Good lighting
Good lighting is key when practicing lash extension at home, whether you’re working on a mannequin or a live model. Make sure your workspace is well-lit with bright, natural or artificial lighting. Consider investing in a ring light or a magnifying lamp that will allow you to see every detail clearly and prevent mistakes.
12. Glue dots
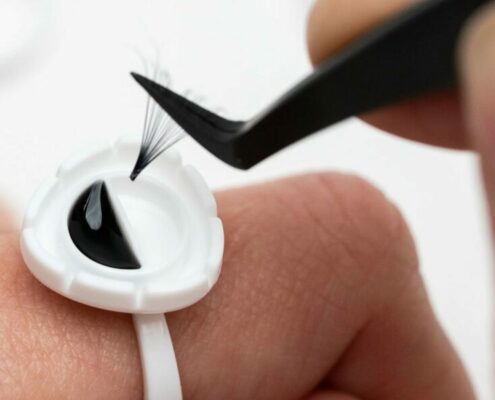
Using glue dots can help you perfect your technique before applying adhesive to a mannequin head or real client. Practice placing the glue on these dots to get comfortable with the speed and precision needed when applying lash extensions. This is a great way to build confidence and ensure that you are consistently applying the right amount of adhesive.
How to do Lash extensions at home on a mannequin: A step-by-step guide
Practicing lash extension at home on a mannequin is an excellent way to hone your skills before working on real clients. Here’s a detailed guide to help you get started:
Step 1: Prepare your workspace
Start by setting up your mannequin. Then, set up your workspace in a clean, well-lit area. Make sure you have all your tools within easy reach. Good lighting is critical for precise work, so use a ring light or magnifying lamp to clearly see every detail.
Step 2: Isolate the lower lashes
Use lash pads or medical tape to isolate the lower lashes from the upper lashes. This is important because you want to make sure the lower lashes don’t get stuck to the top lashes during the process. Place the pads under the lower lashes along the lash line, making sure they stay comfortable and secure.
Step 3: Clean and prime the lashes
Even though you’re working on a mannequin, you should always start by cleaning the lashes with lash primer. The primer helps ensure that the adhesive bonds properly by removing oils, dirt, or any residual makeup from the lashes. Apply the primer to a lint-free applicator and gently swipe it across the lashes.
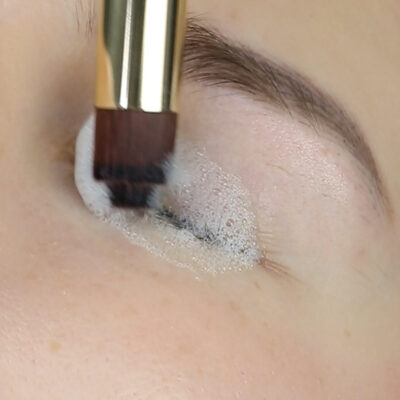
Tip: Priming the lashes is a professional step that mimics real-client lash preparation and ensures better adhesive results.
Step 4: Select your lash extensions and style
Now, choose the type of lash extensions you want to apply. Lashes come in different lengths, curls, and thicknesses, so pick one lash map that you want to work with first. For beginners, it’s best to start with classic lashes, which involve applying one extension to each natural lash.
Step 5: Load the lash extension onto the tweezer
Using curved tweezers, carefully pick up a single lash extension. Dip the base of the extension into your lash adhesive. Be sure to only use a small amount of adhesive to avoid excess glue that could cause clumping.
Tip: For better control, you can practice with glue dots or a glue ring to help manage the amount of adhesive you’re using.
Step 6: Apply the lash extensions
Using straight tweezers or the second set of curved tweezers, carefully place the lash extension onto the mannequin’s natural lash (or the base of the mannequin’s existing lashes). Position the extension a few millimeters from the eyelid to avoid contact with the skin. Press down gently for a secure bond.
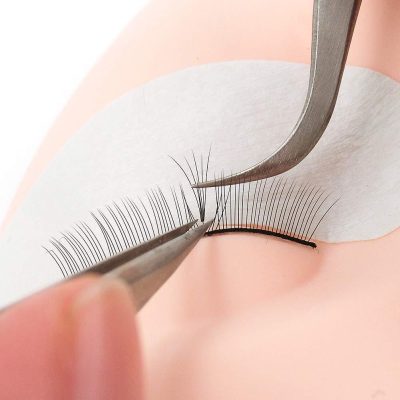
Continue applying lash extensions across the entire lash line. You can alternate between using straight tweezers for isolation and curved tweezers for applying the lashes, depending on your comfort level. Take your time to avoid rushing through the process. Focus on ensuring the lashes are applied precisely to the natural lashes, with no overlap or glue clumps.
Tip: Apply the extensions in small sections to ensure they are even and properly placed. You may want to work in rows, starting from the inner corner of the eye and moving outward.
Step 7: Check for gaps
After you’ve applied the lashes, step back and check for any gaps or unevenness. Use your tweezers to fix any sparse areas and fill in the gaps. This is your opportunity to ensure the lashes are full and well-blended.
Step 8: Apply super bonder (Optional)
If you’re using a super bonder, this step can help seal the adhesive. After the extensions are in place, apply the Super Bonder along the lash line and let it dry for a few seconds.
Step9: Comb through the lashes
Once the extensions are applied and the adhesive has set (about 2-3 minutes), use a lash brush to gently comb through the lashes. This helps separate them and ensures they don’t clump together. It also gives the lashes a more natural, fluffy look.
Step 10: Final touches
Once the lashes are applied and brushed through, give the lashes a final inspection. Make sure they’re secure, and check that the shape and length look balanced. You can also apply a small amount of lash serum or hydrating mist to the lashes to ensure they stay soft and shiny.
Top tips for practicing lash extension at home
Here are some of the best tips for you to practice lash extension at home effectively:
- Practice Regularly: The more you practice, the more skilled you’ll become. Set aside dedicated time to work on your techniques.
- Stay Organized: Keep your tools and supplies organized so you can focus on the task at hand without distractions.
- Track Your Progress: Take photos of your work and assess areas that need improvement.
- Be Patient: Learning lash extensions takes time. Be patient with yourself as you develop your skills.
- Invest in Quality Tools: Your tools are your best friends when it comes to lash extensions. Don’t cut corners when selecting your kit.
At CharmLash, we’re here to support you with premium-quality lash products designed for safety, comfort, and stunning results. From premium lash extensions to professional pretreatment & aftercare products, we’ve got everything you need to ensure your clients’ natural lashes stay healthy and fabulous.
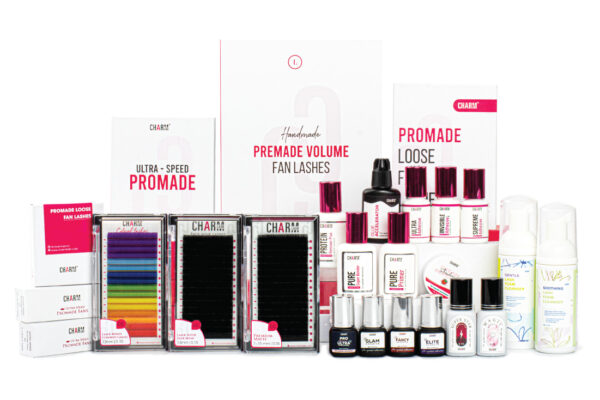
Ready to elevate your lash game? Check out our full range of professional lash supplies here!
Final thoughts
Practicing lash extension at home offers you a unique opportunity to develop your skills and boost your confidence in a comfortable setting. With the proper tools, a dedicated workspace, and consistent practice, you’ll be well on your way to becoming a lash extension pro. And remember, even when you’re practicing on a mannequin head or model, always follow safety guidelines and the proper techniques to ensure a flawless finish.
Follow us on Pinterest & Instagram for more helpful lash tips!
MAYBE YOU WANT TO KNOW MORE:


