If you’ve ever dealt with stringy lash extension glue, you know how frustrating it can be. The sticky, string-like consistency makes it difficult to dip lashes properly, causes messy applications, and can even ruin a set. Whether you’re a beginner or seasoned lash artist, understanding why this happens—and how to prevent it—can save you a lot of stress.
In this blog, we’ll walk you through the main causes of stringy lash extension glue and practical tips to avoid it.
A. Understanding stringy lash extension glue: What is it?
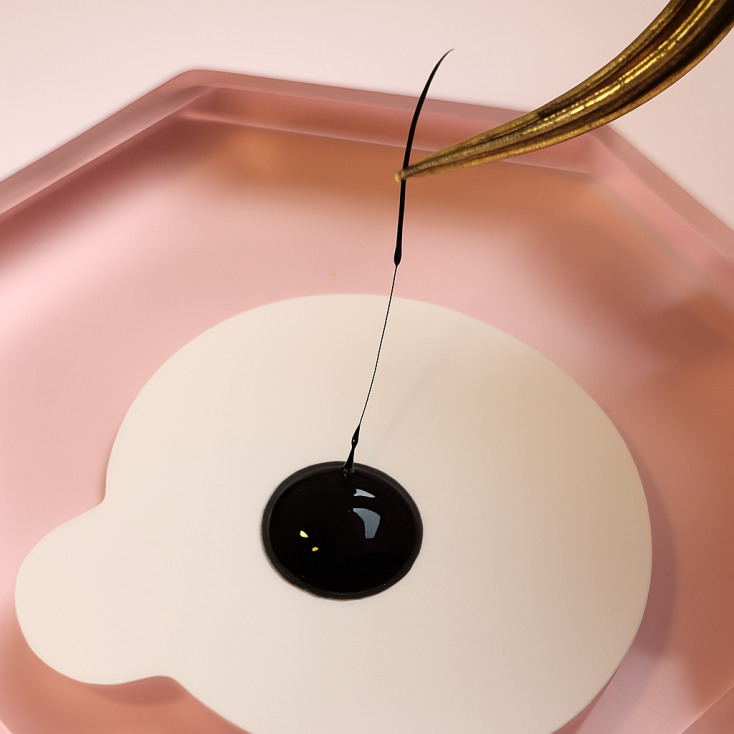
Stringy lash glue is when the adhesive forms sticky threads or “strings” between the lash strip and your tweezers or lash fan. Instead of creating a clean dip and neat bond, it clings like melted cheese—making your work messy and less precise.
B. Top causes of stringy lash extension glue
Several factors can cause this annoying glue texture, and most of them are preventable. Here are the common culprits:
1. Expired or old glue
Adhesives degrade over time—even if the bottle isn’t opened. Once expired, lash glue becomes thick, sticky, and stringy. Always check the shelf life and expiration date of your adhesive.
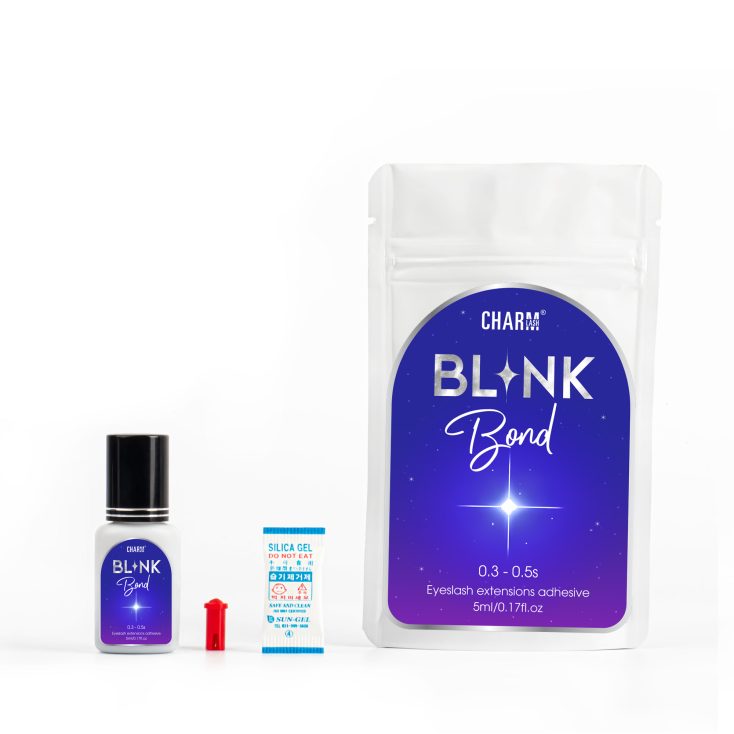
At Charmlash, we offer both fast-drying lash glues and standard drying lash glues tailored for every lash artist’s environment.
2. Poor storage conditions
Lash glue is highly sensitive to temperature, humidity, and exposure to air. If stored improperly (e.g., near sunlight or in a humid room), the formula starts to break down and becomes stringy.
💡 Tip: Store your glue in an airtight container with silica gel packs in a cool, dry place.
If you’re unsure how to store your lash glue correctly, check out our full guide on how to store lash glue properly to extend its shelf life and performance.
3. Contaminated nozzle
If you’re not wiping your glue nozzle after every use, residue builds up and thickens over time. This hardened glue at the opening can cause your fresh glue drops to behave stringy.
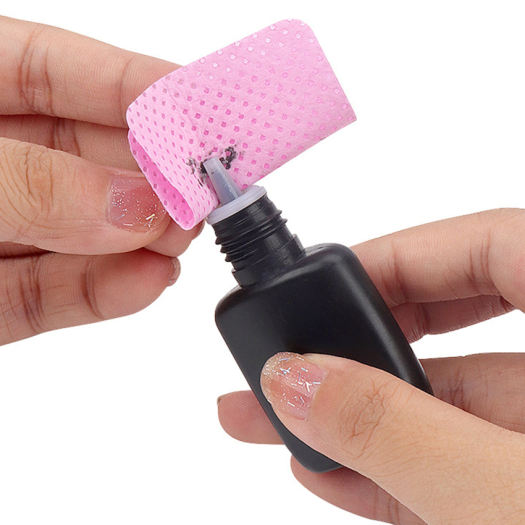
💡 Always wipe the nozzle with a lint-free wipe and close the cap tightly after every drop.
C. 5 essential lash artist glue tips on how to prevent stringy lash extension glue
Let’s break down what you can do before and during the lash set to avoid stringy glue disasters.
1. Shake your glue well
Before dispensing, always shake your glue (for at least 30–60 seconds). If not mixed properly, the components may separate and lead to uneven, stringy consistency.
2. Use glue within its optimal lifespan
Once opened, most lash adhesives should be replaced every 4–6 weeks. Even if the glue seems okay, using it beyond its open period increases the chance of stringiness.
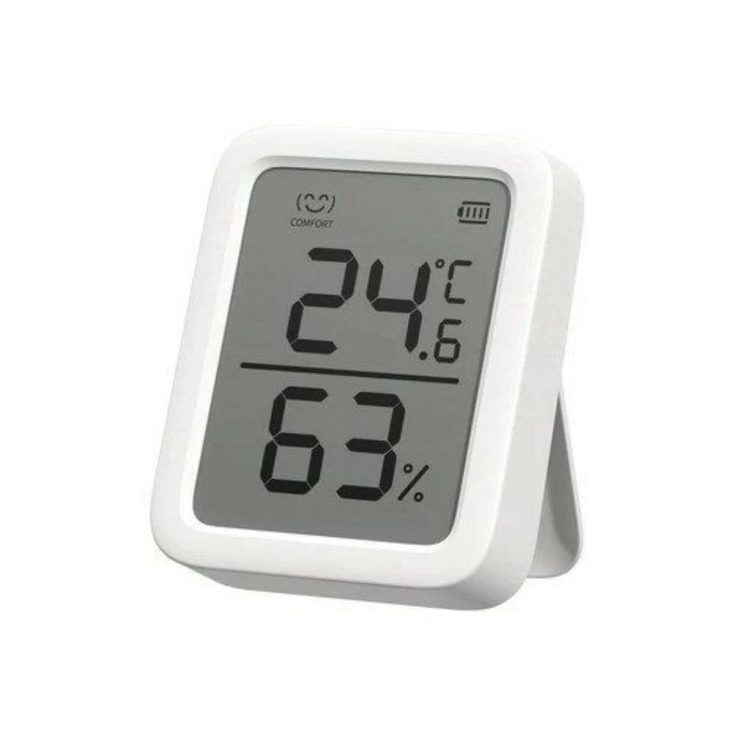
3. Control your environment
Work in a lash room with stable temperature (20–24°C) and humidity (45–60%). You can use a hygrometer to monitor conditions and glue that matches your salon’s climate.
4. Replace your glue drop regularly
Don’t work with the same glue dot for too long. Change it every 15–20 minutes (or sooner if the environment is warm or humid). An old drop gets stringy fast.
💡 Tip: Use a jade stone or glue ring with foil/tape to control temperature and slow down curing.
5. Don’t over-dip or drag your lash
Over-dipping or dragging your lash through the glue can create long threads. Instead, dip and lift vertically, with just enough adhesive on the lash base.
D. Quick fixes: How to fix stringy lash glue mid-set
If it’s happening mid-set, try these quick fixes:
- Dispense a fresh glue drop
- Wipe and clean the nozzle
- Check room humidity and temperature
- Replace the glue bottle if it’s near or past expiration
- Shake the glue thoroughly again
E. Final thoughts: Lash better with better habits
Stringy lash extension glue can throw off your lash game—but it’s not something you have to live with. With proper storage, handling, and environmental control, you can keep your glue fresh and consistent.
Looking to boost your retention even further? Don’t miss our top tips to maximize lash retention
Follow us on Instagram @charmlashvn to learn more useful tips