In the world of beauty and self-expression, lash extensions have become a beloved accessory for those seeking to enhance their natural beauty. You might have heard about eyelash extension application for long enough. The delicate flutter of long, full lashes can transform your appearance and boost your confidence.
But achieving perfectly applied lash extensions is not merely about placing false lashes onto natural lashes; it involves a series of steps, skill, precision, and the right tools. In this blog, we will guide you through the application process, providing a step-by-step comprehensive guide to help you master the art of eyelash extension application and give important notes and tips for each step to ensure you can provide top-notch service.
What is Eyelash Extension Application and Why Should You Care?
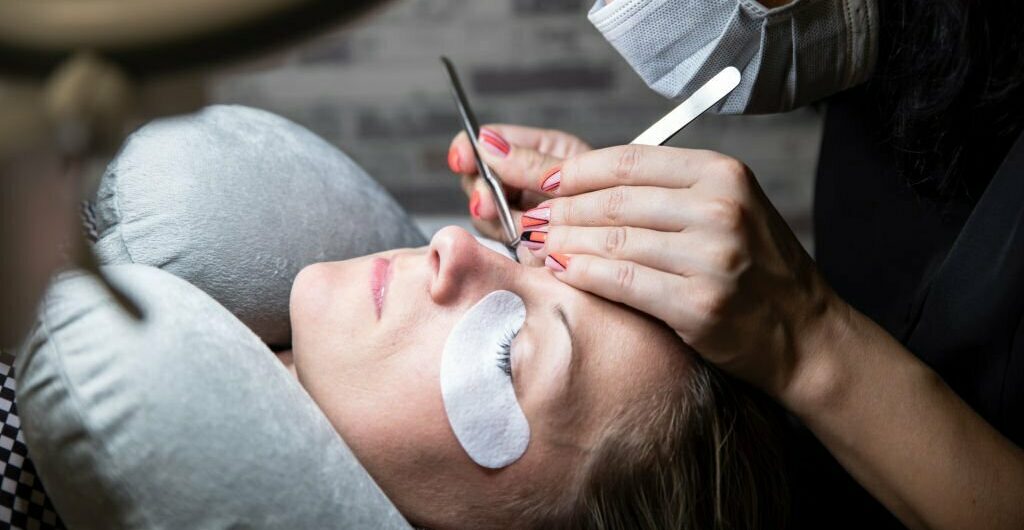
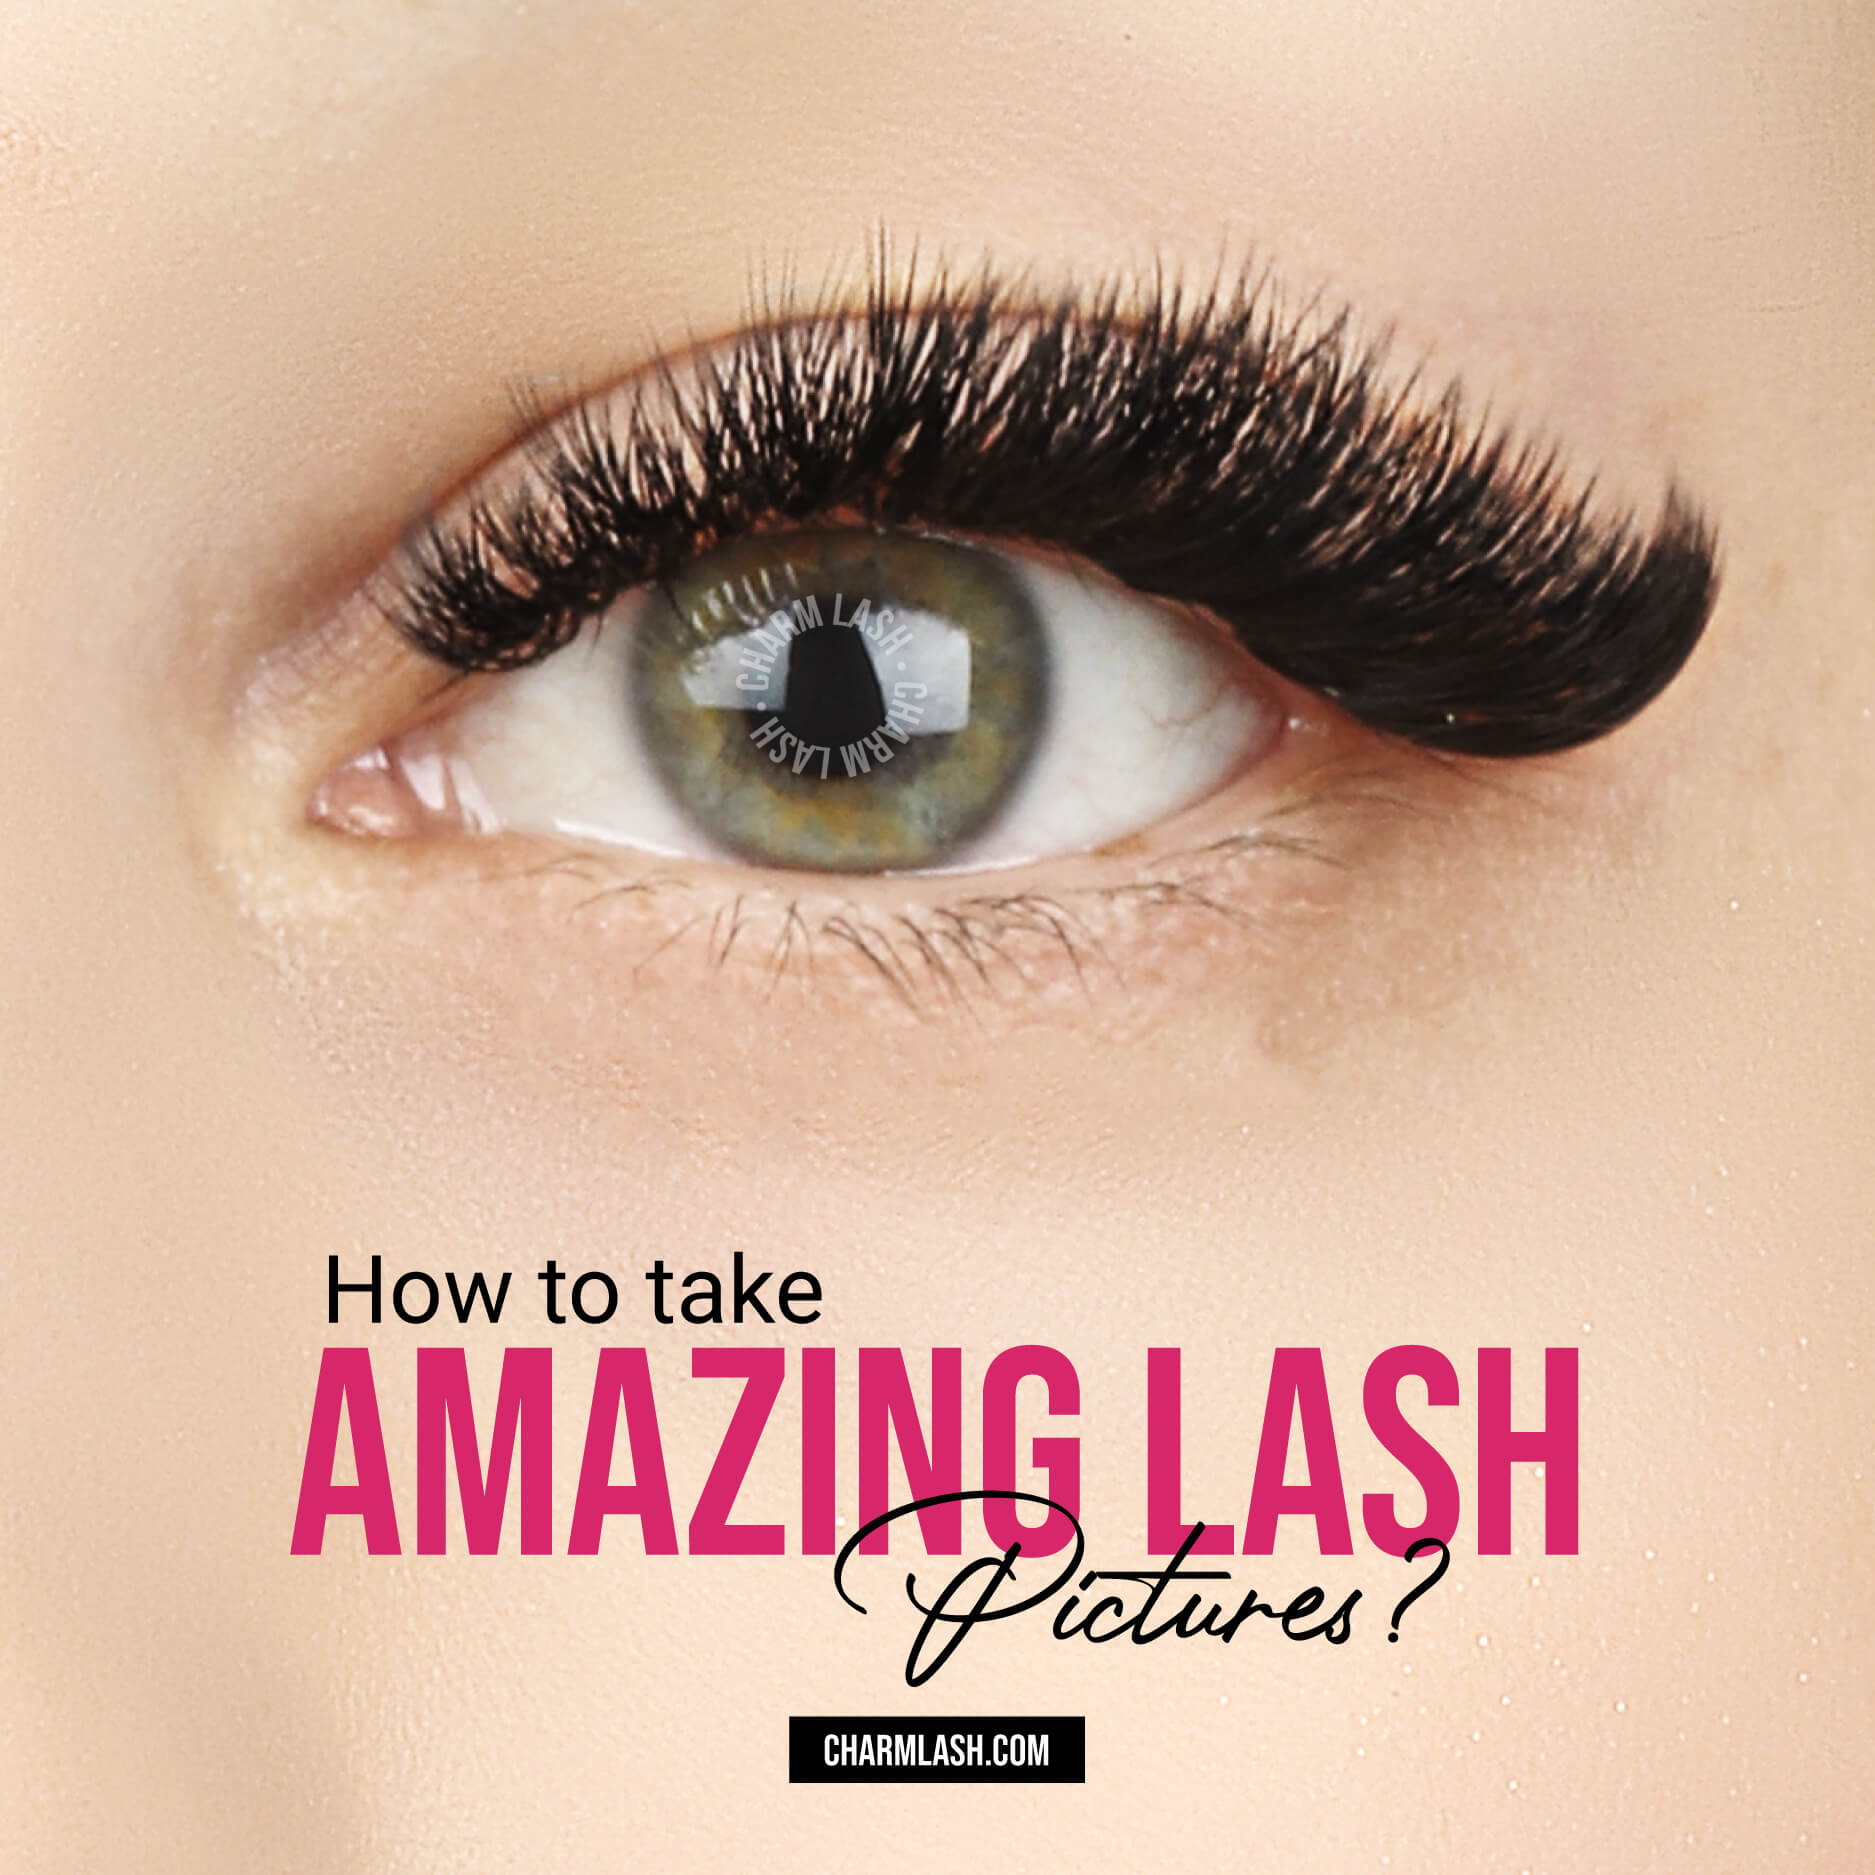
Eyelash extension application is the process of attaching individual lash extensions to natural lashes to create a fuller and longer lash appearance. This process offers many benefits, including:
- Enhanced Beauty: Lash extensions add volume and length to natural lashes, giving a stunning and glamorous look with minimal weight.
- Long-lasting Hold: Lash extensions are more stable than traditional curlers or mascara because they are attached to natural lashes using specialized glue.
- Customization: Lash extensions come in various lengths, thicknesses, and curls, allowing for a wide range of customized looks.
Application Process
The lash extension application process can be summarized in 7 key steps, which are:
- Consultation: Assess the client’s needs and preferences.
- Prep: Cleanse and prime the natural lashes.
- Eye pads placing: Place eye pads to protect and make sure no lower lashes are stuck or glued together
- Mapping: Carefully plan the placement of extensions for the closet result.
- Isolation: Use tweezers to separate and isolate individual natural lashes.
- Application: Attach lash extensions to isolated lashes using lash adhesive. Customize the look by selecting the appropriate length, thickness, and curl of lash extensions.
- Aftercare: Educate the client on maintaining their lash extensions.
Now, let’s delve into step by step:
Step 1: Consultation
This step is crucial for achieving the desired results. Start with a comprehensive conversation with your client. Listen to your client’s expectations. Conduct a thorough consultation to determine the style, length, and thickness that your client prefers and inquire about any allergies they may have. Suggest suitable styles based on their facial features.

Step 2: Prep
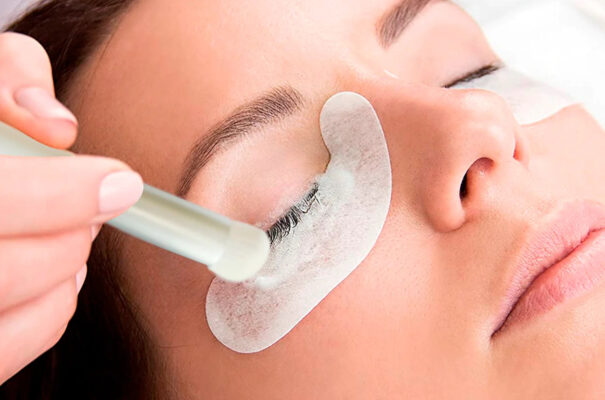
Once you’ve discussed your client’s ideal lash style, it’s time to begin the application process. But before that, it’s essential to start with a clean canvas. Ensure that the natural lashes are clean and free of any makeup or residue.
Use a lash cleanser or shampoo and primer for this step. Lash cleanser and primer helps removing oils, dirts, impurities and ensuring that the natural lashes are ready for extensions. Clean, dry lashes will provide an optimal surface for the adhesive to bond effectively.
Important notes:
- Contact lenses must be removed during lash application to avoid discomfort and eye damage.
Step 3: Eye Pads Placing
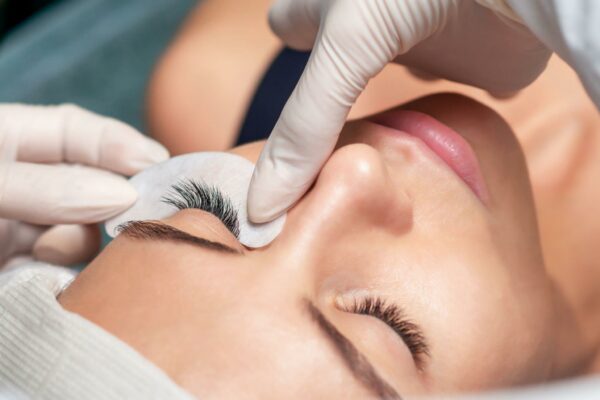
Place eye pads carefully to protect the lower lashes. It’s essential to ensure that no lower lashes are stuck or glued together. This step not only protects the lower lashes but also prevents discomfort for the client.
Step 4: Mapping
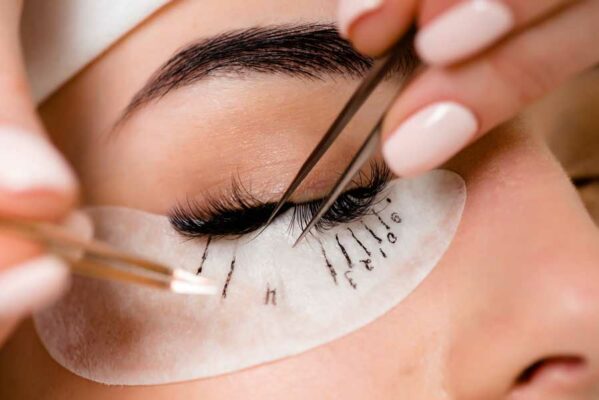
Customize the look by selecting the appropriate length, thickness, and curl of lash extensions. Consult using lash mapping to achieve the best result. Lash mapping involves planning the placement of different lengths and curls of extensions to achieve the desired look. This is a crucial step that allows you to create a unique and desired lash style for your client
Step 5: Isolation
This step is vital to avoid lash extensions sticking together. Use tweezers to isolate each natural lash. Many lash artists forget to use their pick-up tweezers when isolating. Using both tweezers makes positioning and separating your client’s tiny lashes much more accessible. When isolating with both tweezers, angle your isolation tweezer downwards towards the lashes, providing a clean view range and making isolation simpler.
Step 6: Application
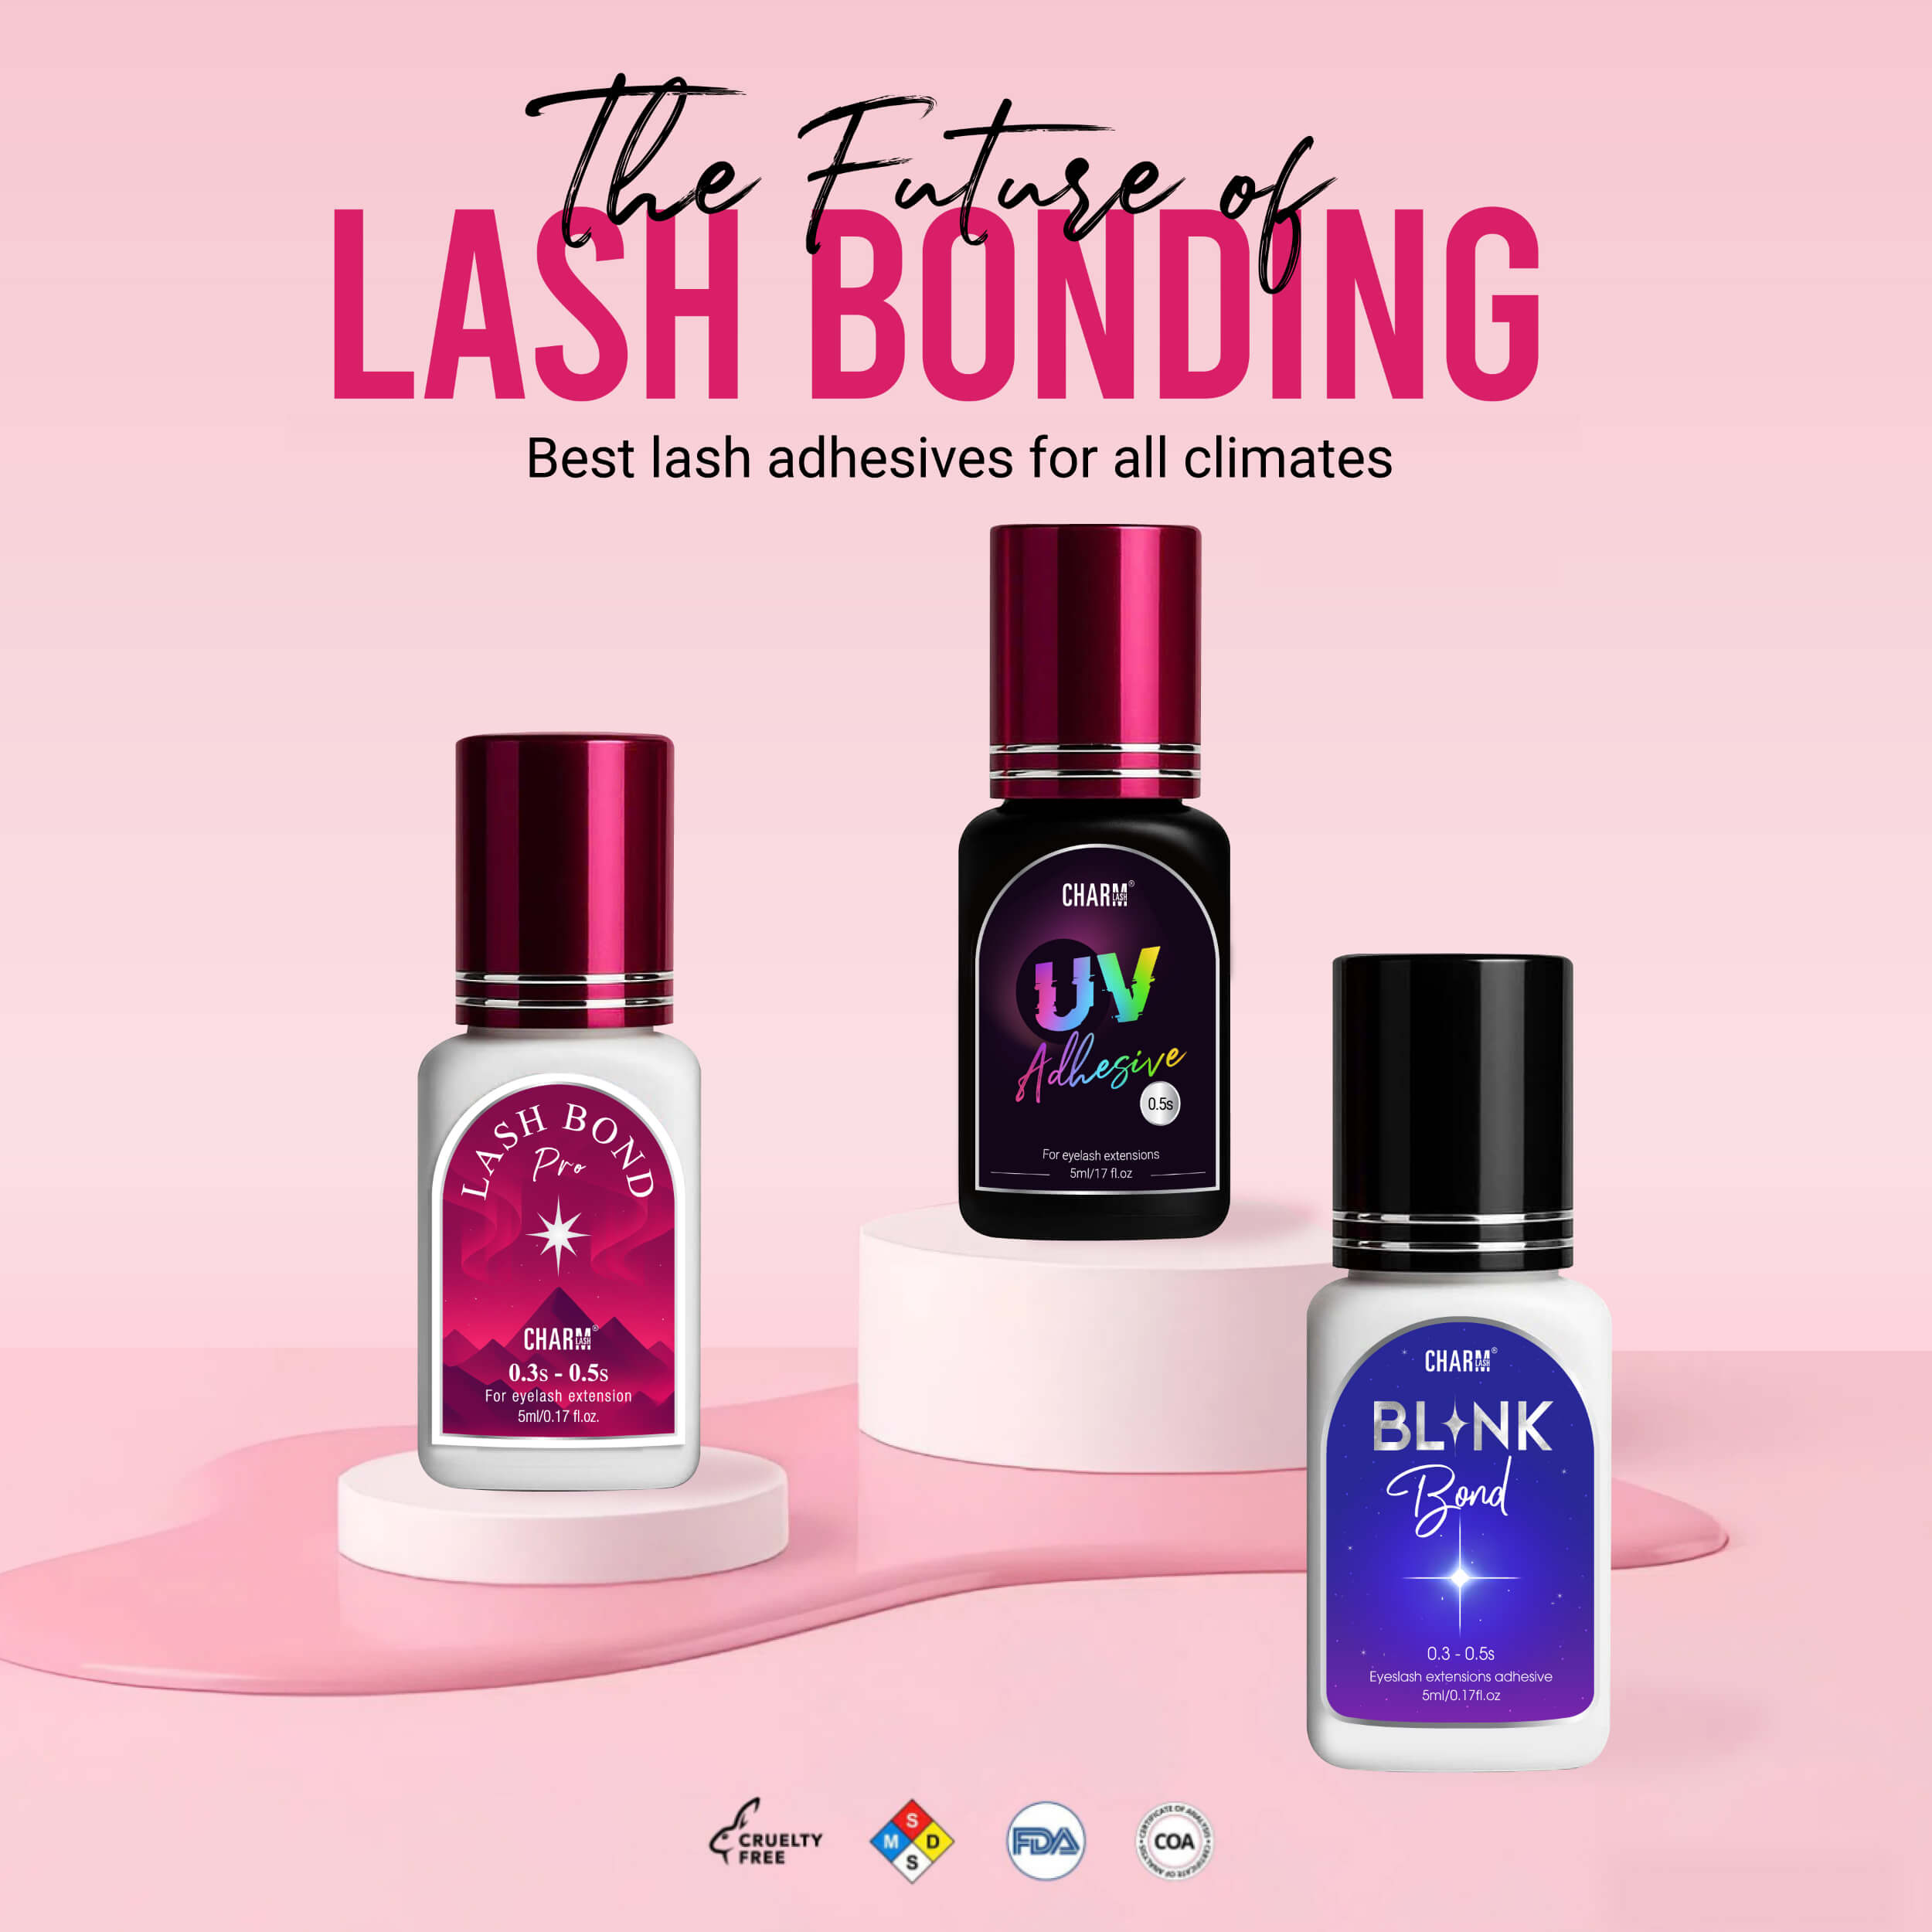
Now it’s time for the key show! Use lash adhesive to keep the extensions stay securely in position and do not prematurely fall out, allowing clients to enjoy long-lasting, beautiful lashes. For easy use and application, a small adhesive drop plate or adhesive stone or glue ring is commonly used in this step.
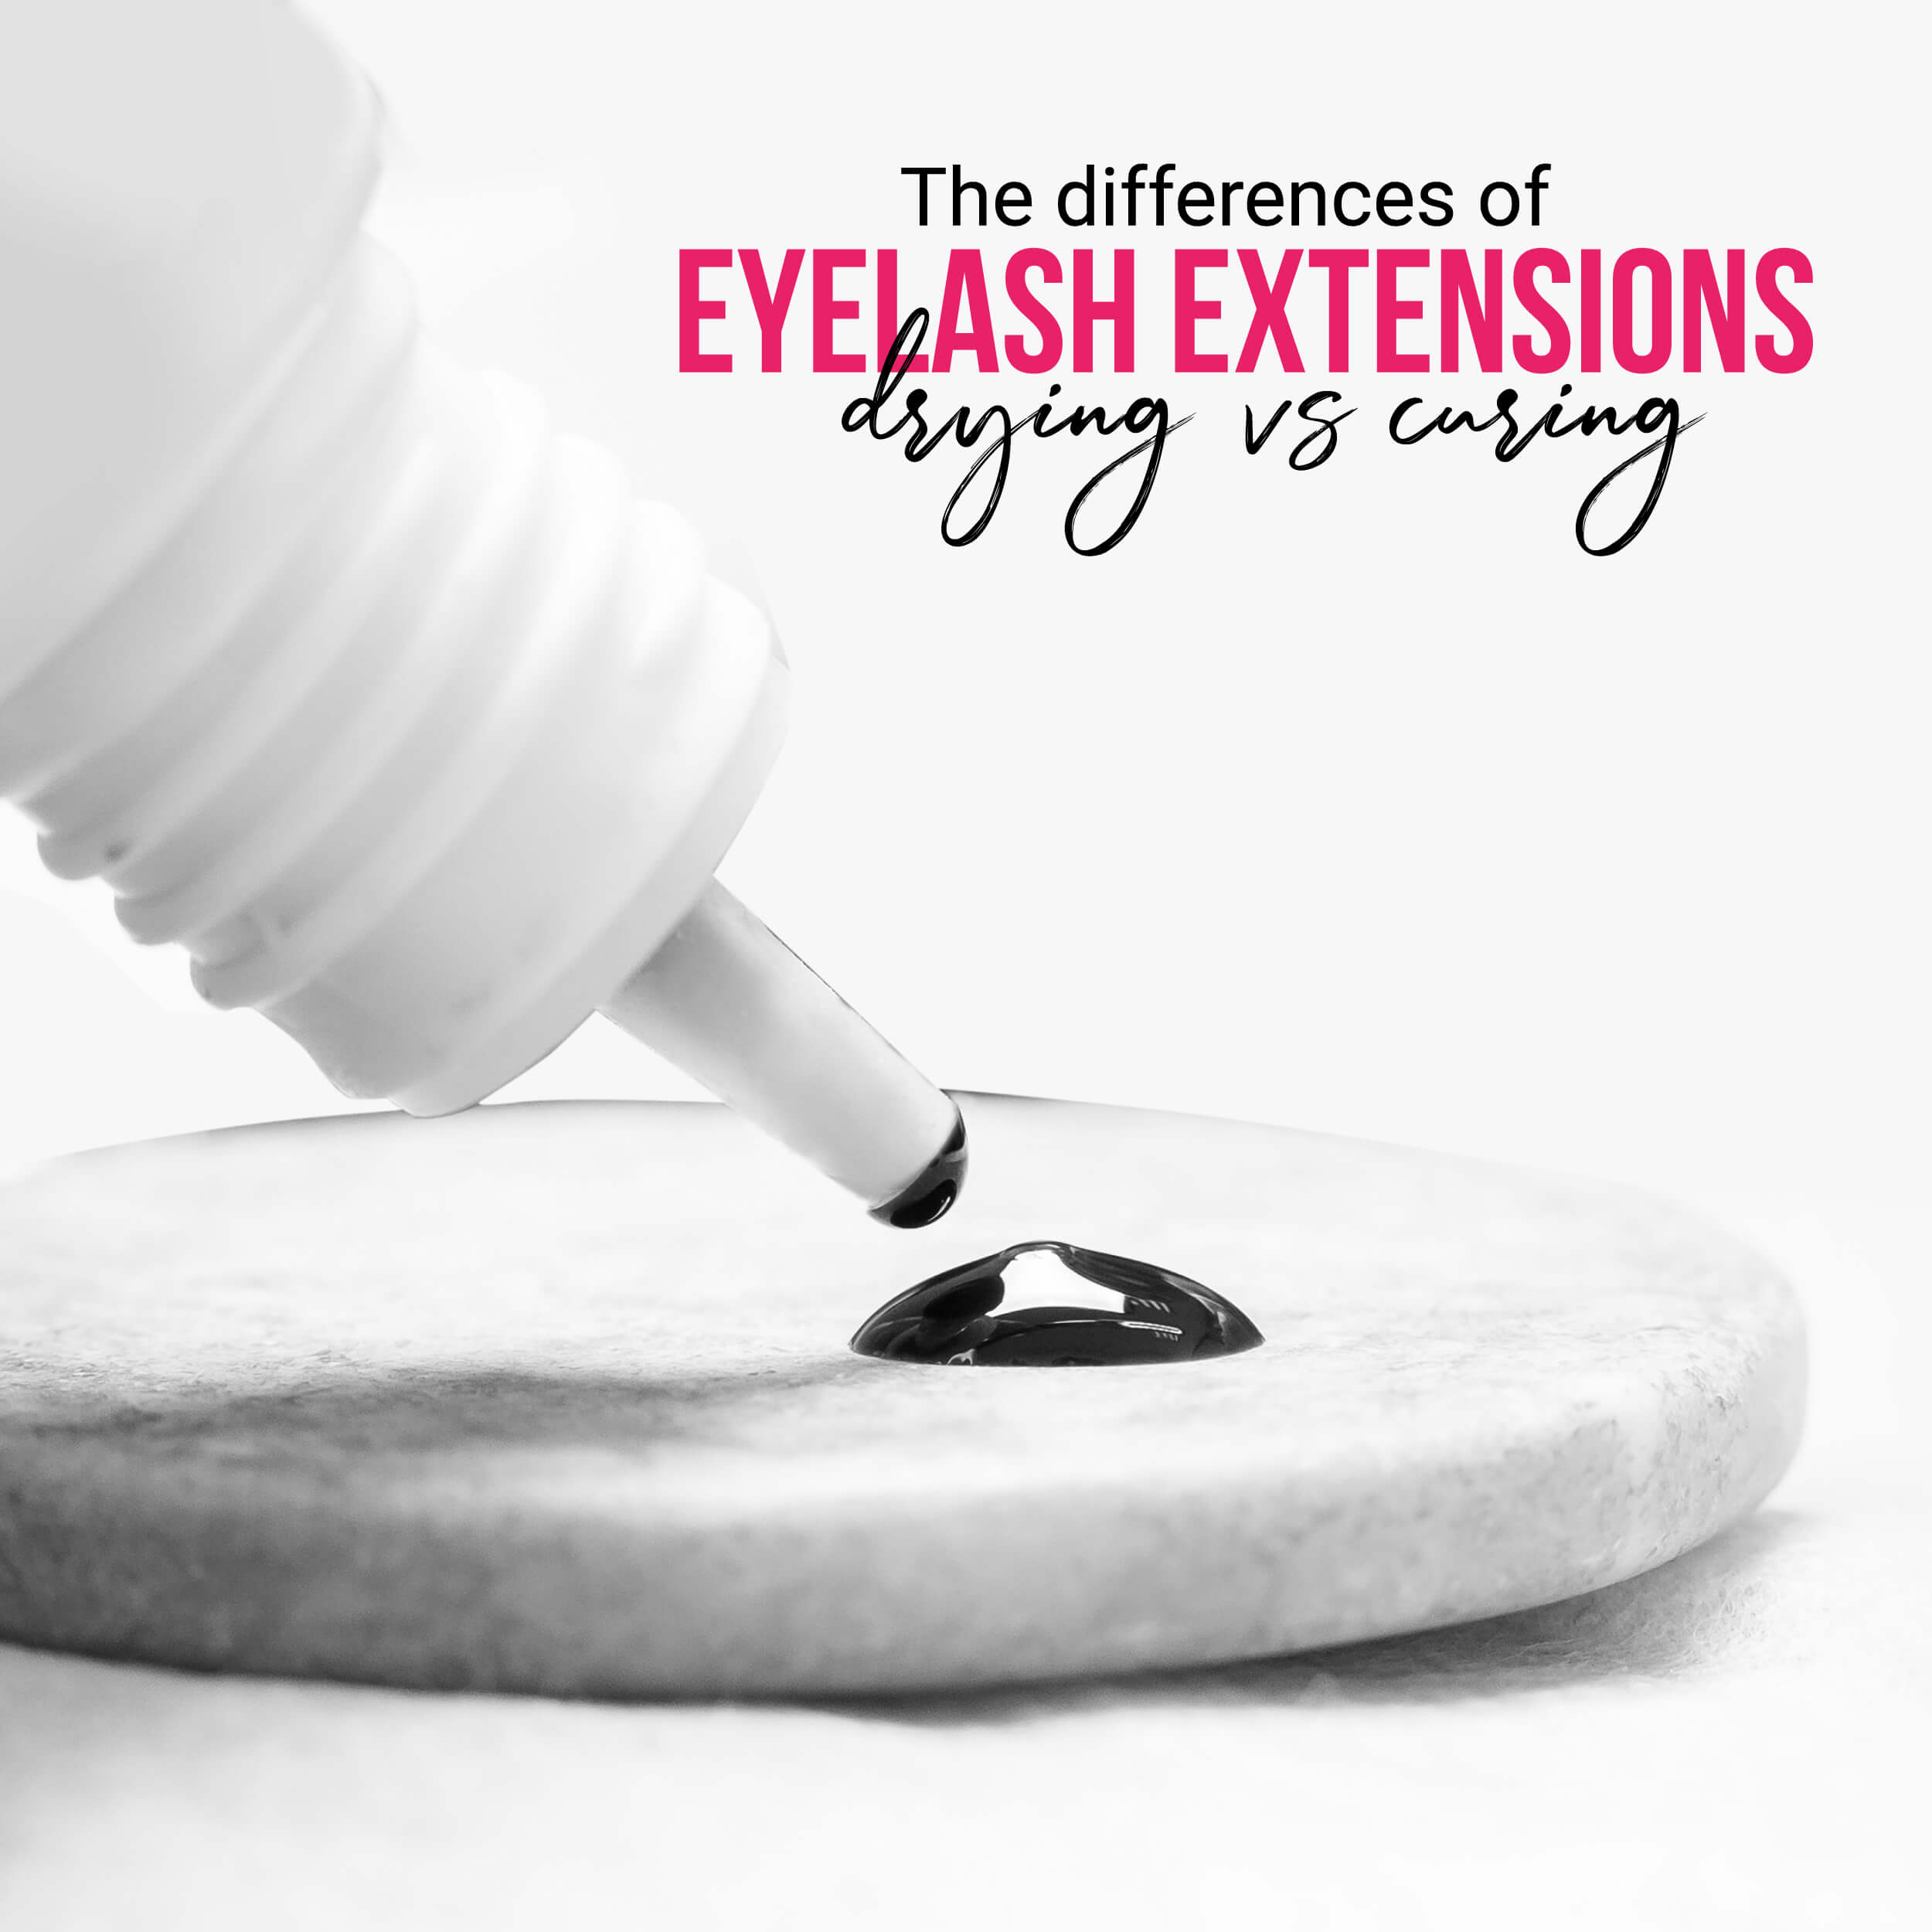
Then, dip the extension into the adhesive with a proper amount to avoid retention issues. The adhesive should be smooth without gaps.
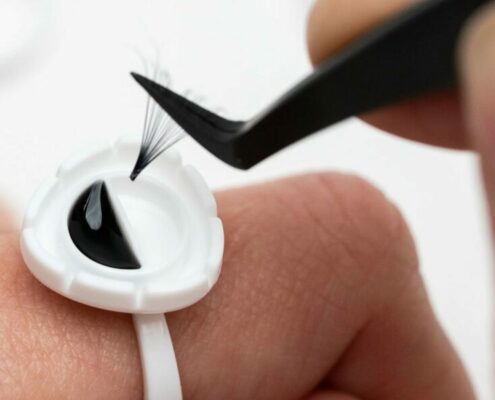
Both too much and too little glue on lash extensions can lead to problems during the application process and affect the final result. Here’s what happens in each scenario:
- Too Much Glue
- Clumping: Excess glue can cause the lash extensions to stick together, resulting in a clumpy and unnatural appearance.
- Longer Drying Time: With excessive glue, it takes longer for the adhesive to dry, leading to inefficiency during application.
- Irritation: Overflowing glue can seep into the eyes, potentially causing discomfort or irritation.
- Premature Bonding: Lash extensions may bond before the lash artist has them properly positioned, making adjustments difficult.
- Too Little Glue:
- Poor Adhesion: Inadequate adhesive may not create a strong bond between the natural lash and extension, leading to premature shedding.
- Lash Extensions Won’t Stick: Lash extensions might not adhere properly, causing them to fall off shortly after application.
- Uneven Application: Inconsistent amounts of adhesive can result in lash extensions with varying levels of adhesion and longevity.
In other words, the proper use of lash adhesive is the key to achieving beautifully enhanced lashes with longevity. After swiping the extension with just enough adhesive, place it onto the natural lash. Continue this process until you achieve the desired style. Allow 3 to 5 minutes for the lash adhesive to dry.
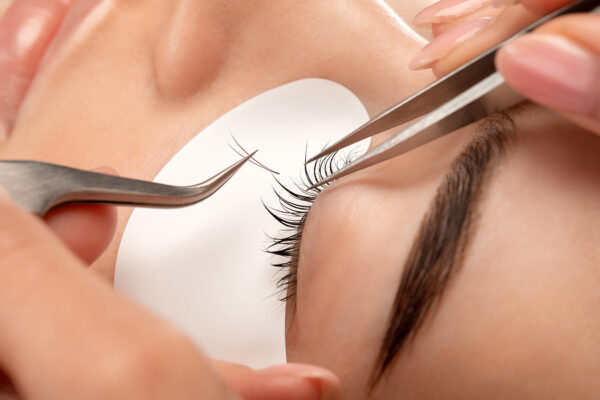
Proper bonding and curing is also an effective factor ensuring that the extensions adhere securely to the natural lashes. To improve retention and speed up the drying process, you can use a super bonder to cure the adhesive bond faster. Super bonder is designed to strengthen lash extension bonds, extends their lifespan, and enhances retention for a more efficient and long-lasting application.
Step 7: Aftercare
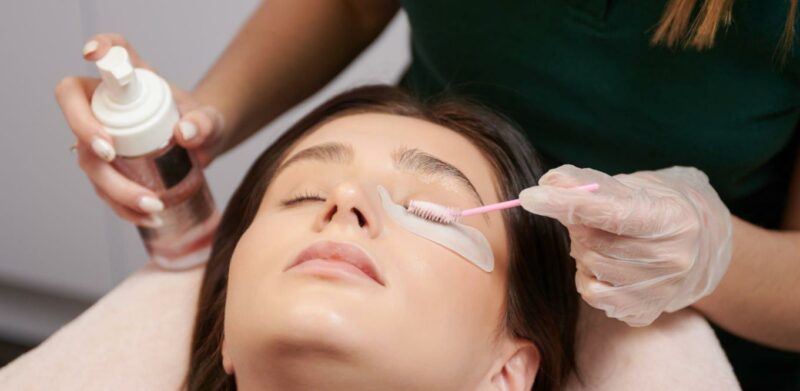
After application, it is vital to take care of your beautifull-crafted lash extensions. Neglecting aftercare can lead to premature lash loss, damage, and a less-than-desirable overall appearance. Proper aftercare practices help maintain your lashes in pristine condition. So, taking care of your lash extensions isn’t just an option; it’s a necessity for enjoying beautiful, long-lasting lashes.
For aftercare of lash extensions, you should recommend the following practices to your clients:
- Gentle Cleaning: Advise clients to clean their lashes regularly with a lash extension-friendly cleanser. A gentle, oil-free cleanser, or one specially formulated for lash extensions, helps keep the lashes clean without causing damage.
- No Rubbing or Pulling: Emphasize the importance of not rubbing or pulling on the lashes. These actions can dislodge extensions and even damage the natural lashes.
- Brushing: Suggest using a clean mascara wand or a spoolie brush to gently comb through the lashes daily. This prevents any tangling or crisscrossing and keeps them looking neat.
- Avoid Oil-Based Products: Encourage clients to stay clear of oil-based makeup removers, cleansers, and skincare products as oils can break down the lash adhesive, leading to premature lash loss.
- Be Cautious in Saunas and Steam Rooms: Inform clients that excessive heat and moisture can weaken the adhesive. They should avoid saunas and steam rooms or take extra care if they choose to enter such environments.
- Regular Touch-Ups: Remind clients that lash extensions have a lifespan of around 4-6 weeks. They should schedule regular touch-up appointments to replace any lost extensions and maintain a full lash look.
- Choose Professional Removal: If a client decides to have their extensions removed, stress the importance of having it done professionally. Attempting to remove extensions at home can lead to damage or even loss of natural lashes.
- Keep Makeup Light: Encourage clients to use minimal eye makeup and choose products that are safe for lash extensions. Heavy makeup and mascara can be challenging to remove and may cause lash damage.
Choosing Suitable Products
Choosing the right products is a crucial step for a successful application. When sourcing your lash extensions, adhesives, cleansers, primers, and tweezers, it’s wise to partner with reputable suppliers known for their commitment to quality. Don’t forget to take into account your clients’ unique needs and any potential allergies when making your selections. Prioritizing high-quality products not only guarantees a safe and satisfying experience for your clients but also contributes to the longevity of their lash extensions.
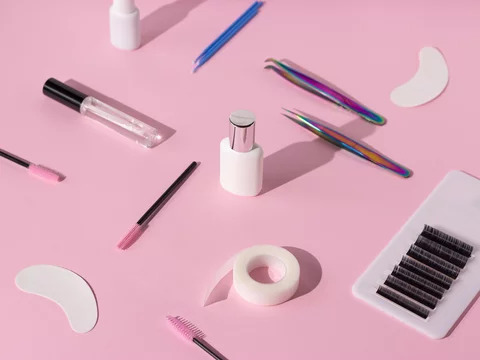
At CharmLash, we take pride in being a leading professional eyelash extension wholesale manufacturer in Vietnam. We specialize in providing a wide range of premium eyelash extensions and top-notch consumer lash care products that cater to all your needs in the eyelash extension industry. Explore our offerings and discover the beautiful catalogue that awaits you!
Conclusion
In conclusion, mastering the art of eyelash extension application is not only rewarding for you as a lash retailer, salon owner, or startup but also brings joy and confidence to your clients. With the proper knowledge, the right products, and a commitment to quality, you can provide a stellar lash extension experience that keeps your clients coming back for more!
YOU MAY ALSO LIKE


